When it comes to sound quality, no one likes to compromise. Who would want to settle for less when you can get the best out of your system? Hence, we can use audio-enhancing tools to improve audio quality to bring a good listening experience. With the help of this software, you can remove undesirable audio frequency components like ambient noise from your own pre-recorded audio.
Here is the list of the 6 best audio enhancer for Windows 10:
- Wavosaur
- Audacity
- Wavepad
- Fx Sound
- Equalizer APO With Peace Interface
- Razor Surround
Moreover, you can change bass and treble, amplify the audio level, remove distortion, and add normalization effects to audio files. The other audio effects include phaser, flanger, vibrato, tremolo, Doppler, chorus, etc. Options like equalizer, normalizer, bass, tempo adjustment, pitch shift, etc., are also accessible through this software.
Furthermore, you can also enhance your MP3 audio with a MIDI converter.
Table of Contents
6 Best Audio Enhancer for Windows 10
Wavosaur
Wavosaur is a free audio editing software that can be an audio-enhancing tool. It provides various options that enhance audio quality. The software has some filters to eliminate undesired and noisy frequency components from audio files that do their work effectively. Some of the filters users can get in this free audio enhancer are Moving average filter, HPF, LPF, Chebyshev, etc. It is considered one of the best free equalizers for Windows 10.
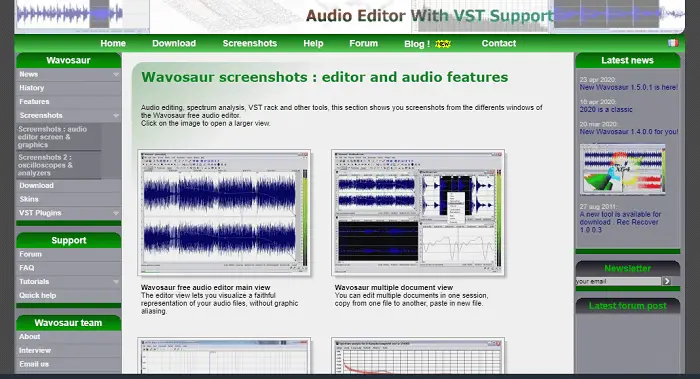 Wavosaur even allows you to change various other audio parameters to enhance the audio quality as per the user’s choice. The options include converting to mono or stereo, channel processing, pitch shift, fade in and fade out, etc. Additionally, you get features like a re-sampler, bit depth converter, DC remover, normalizer, vocal remover, volume booster, etc. These options help you improve your audio quality by a significant level.
Visit: Wavosaur
Audacity
Audacity is also a free audio-enhancing software. It is popular among the best audio enhancers for Windows 10 and users for fulfilling several individuals’ various requirements. Users can perform Audio enhancement by removing the noise associated with the audio.
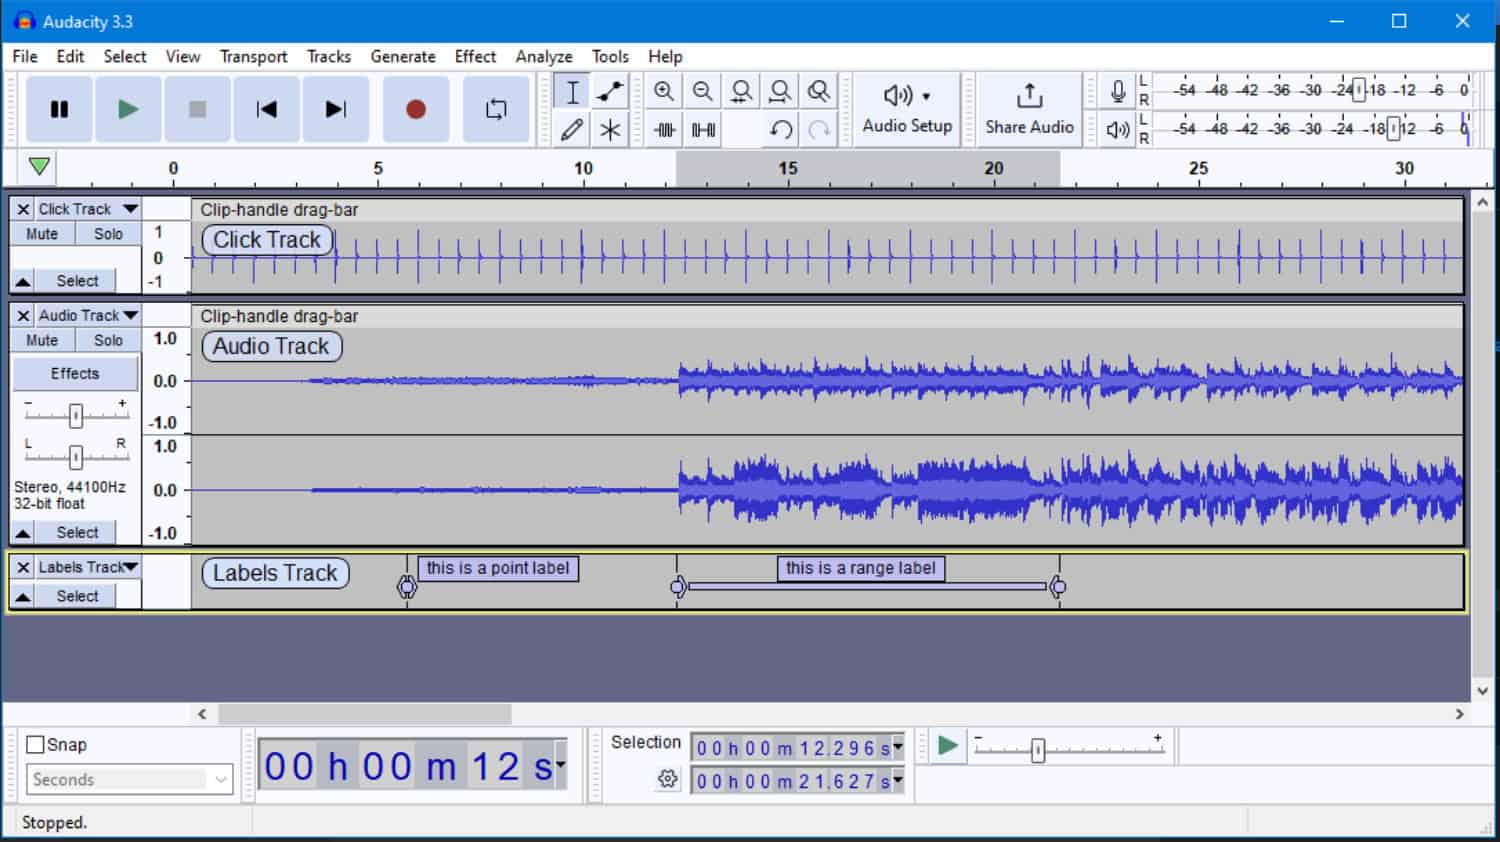
With the help of the Noise Reduction option under the Effects bar, you can have Then the software lets you specify the amount of noise reduction in sensitivity, dB, and frequency smoothing. Hence you can remove the noise to enhance the sound quality.
See Also: 10 Ways To Fix Windows 10 Taskbar Frozen Issue [2024]
Wavepad
WavePad is among the equalizer software for Windows 10. It is freely available but for non-commercial use only. By using this software, you can enhance audio quality by mainly removing noise. You can choose to reduce noise or use various filters for the same work. It gives Noise Reduction options, which let you perform auto spectral subtraction, multi-band noise gating, and grab noise samples for selected areas. By using these noise reduction methods, you can use some presets to either change the silence-to-audio proportion ratio or adjust the noise level to remove hissing and hum from the audio output. Apart from the audio quality, it is a free equalizer for Windows 10.
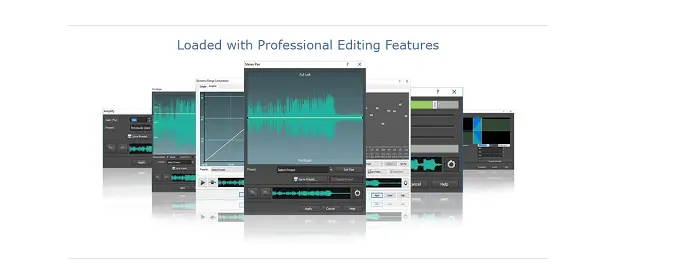
Users can equalize, amplify, normalize, reduce vocals, change speed, change pitch, etc. Users can also use this software as an audio trimmer, audio joiner, audio splitter, or audio editing software. It also lets users add special effects to the audio, such as flanger, vibrato, tremolo, doppler, phaser, chorus, AM radio effect, telephone effect, etc. It also has low and high pass filters to filter out undesired frequencies from the audio selectively.
Visit: Wavepad
See Also: Solve “No Audio Devices Are Installed” On Windows 10
See Also: 8 Ways to Search Background Audio of a YouTube Video
Fx Sound
FxSound is the best audio enhancer for Windows 10 and partly free software for Windows. Although the accessible version of this audio enhancer comes with many limitations, it provides the necessary essential tools to download and enhance music or audio, including an equalizer and many sound effects. It has user-friendly ch makes it one of the easiest-to-use audio-enhancing software.

All users can do is play audio in any music player supported by this software. Users can apply various available sound effects to the played audio in real-time by adjusting sliders. The free version of this software has four types of music effects: ambiance, dynamic boost, fidelity, and bass. You can even change the equalizer setting for some discrete frequencies up to 16 kHz.
It supports used media players such as Windows Media Player, VLC, etc. If you are looking for audio-enhancing software, you can consider this one. Moreover, it also lets you have music visualization as fluctuating bar graphs. There are a few limitations to the free version. The rules are regarding presets and sound effects. You get only a single preset, standard processing in the available version. One of the most significant limitations is that you cannot minimize the software to the taskbar or system tray. Otherwise, the software proves to be highly beneficial.
Visit: Fx sound
Equalizer APO With Peace Interface
Equalizer APO is a freeware available for Windows OP. The software is really for technical brains. The software is not for amateurs but is open-source software. This software needs to be handled by pros. If you are new, take some time to figure out the settings. Also, read the support files again and again. You can enhance the audio in your Windows OP by downloading Equalizer with Peace Interface.
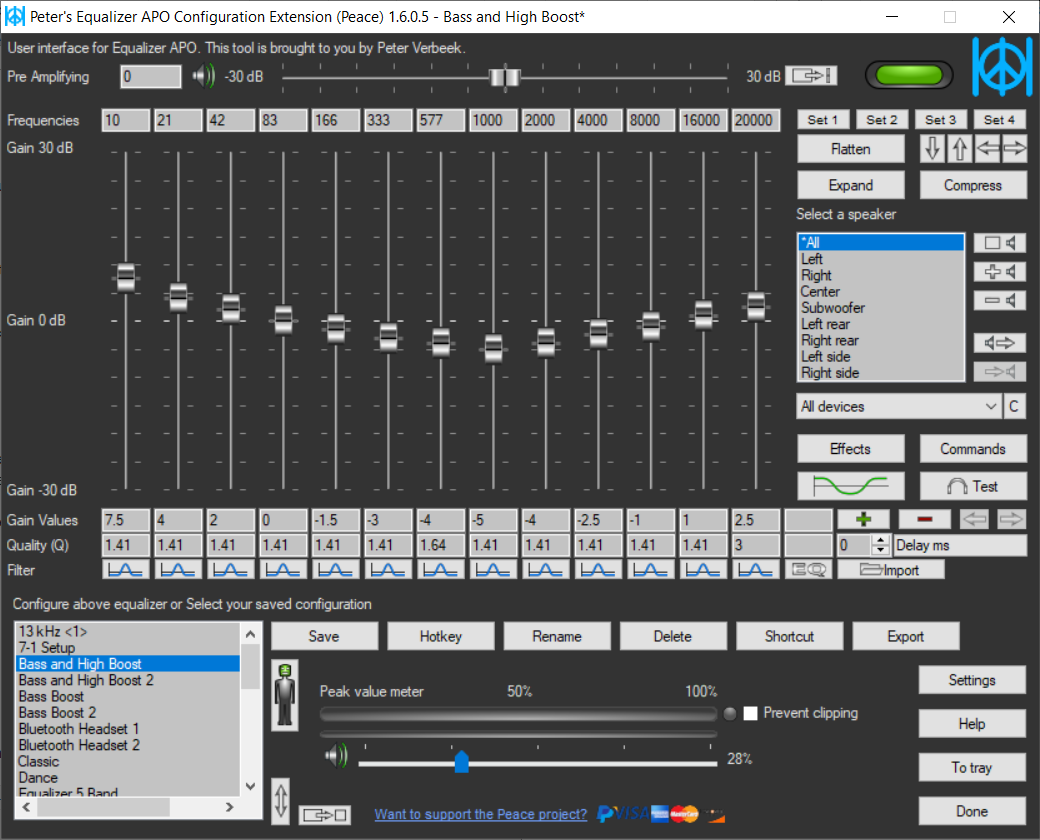
By integrating both, you can get some excellent results. The peace interface is convenient as it comes with stunning presets. You can also make your personalized presets using Peace. After you master both this software, you will have a fantastic listening experience.
Visit: Equalizer APO With Peace Interface
Razor Surround
Are you having a problem with the headphone’s low-quality voice output while playing Black Ops 4 or Valorant? Then you should try 7.1 Razor Surround. This software is designed to give gamers an experience they have never felt before. As its name suggests, it creates surround sound for output devices.
The sound produced is virtual but believe us, you will listen to the enemy’s breath. If you are not happy with the computerized surround sound, disable it. If you are a gamer, then this software is worth the shot.
Visit: 7.1 Razor Surround
Dolby Atmos
Well, this is not a new name for audio enhancement. Dolby Company is renowned for its software for giving audio the next enhancement level. This software is not free and comes with a price of $14.99. This software’s surround sound is up to the mark but can’t beat that of Razor. One disadvantage of this program is that it performs on your output device.

Obviously, with high-quality headphones and speakers, you will find superb quality surround sound; with a low rate of these, you will get degraded sound. Overall it is a handy software, and you should try it.
Visit: Dolby Atmos
Windows Sonic
Do you know that Windows 10 has virtual Surround sound? NO! Then let us make you aware of it. Microsoft created Windows Sonic and snakingly added this in the update. You can find this on your taskbar. To activate this program, follow the steps.
- Go to the taskbar and right-click on your volume button.
- Then choose the option saying ‘Spatial Sound(OFF).’
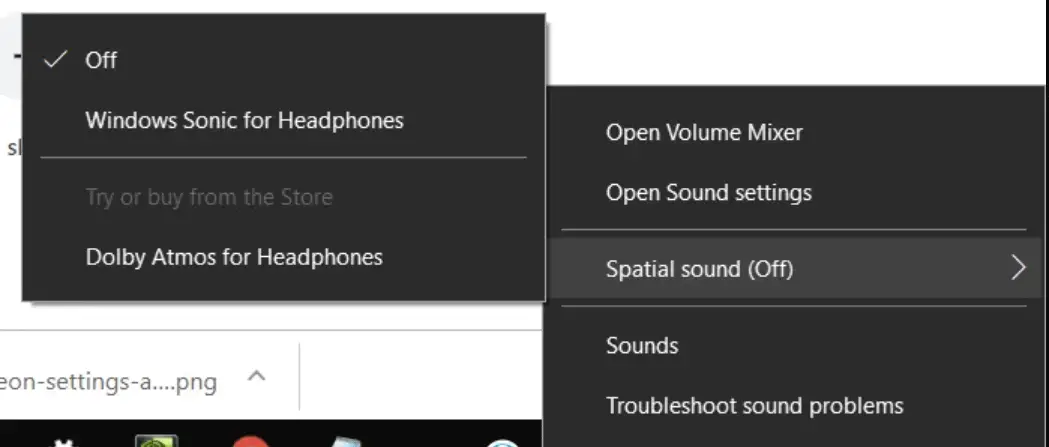
- Pick Windows Sonic for Headphones
That’s it! Now you can experience a sound quality that competes with Dolby Atmos and Razor. Now you have a free-of-cost virtual surround sound preinstalled. Thank us later!
Visit: Windows Sonic
Ocean audio
Ocean Audio is audio editing software for many other tasks, like enhancement. It is also available free of cost. Ocean Audio provides various tools to enhance audio quality. These tools help adjust the delay, reduce noise, improve the audio level, smooth audio, etc. With the help of its normalization option, you can adapt average audio loudness to enhance the audio quality.
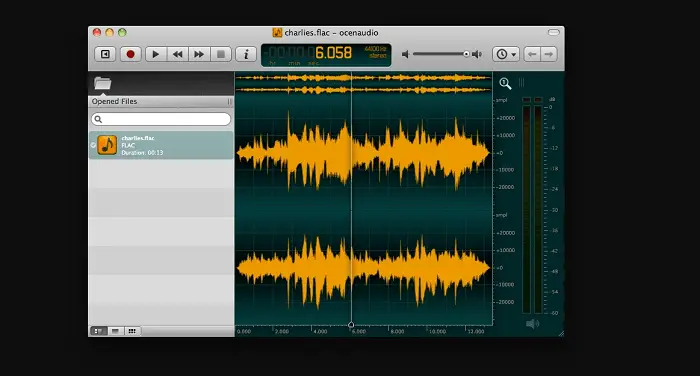
Ocean Audio is one of the free audio equalizers for Windows 10. You get many filters like HPF, LPF, BPF, and BSF to remove noise from selected audio. In addition to the audio enhancement features, it also has Expander, amplitude Limiter, Compressor, and Noise Gate options. This software can also be used as an audio equalizer software, providing two types of equalizers: 31-band equalizer and 11 bands equalizer. Users can use it as an audio trimmer, smoother audio, and quantizer.
Visit: Ocean Audio
Leapic Audio Editor
Lastly, Leapic Audio Editor is another best audio enhancer for Windows 10. The software can help you with audio noise removal and filtering and help enhance audio quality. It gives you two options to remove audio noise: Cassette Noise reduction and Voice Breath Noise Reduction. Like much other software, it comes with many audio filters to remove unwanted frequencies, namely BPF, HPF, LPF, FFT, HSF, etc.
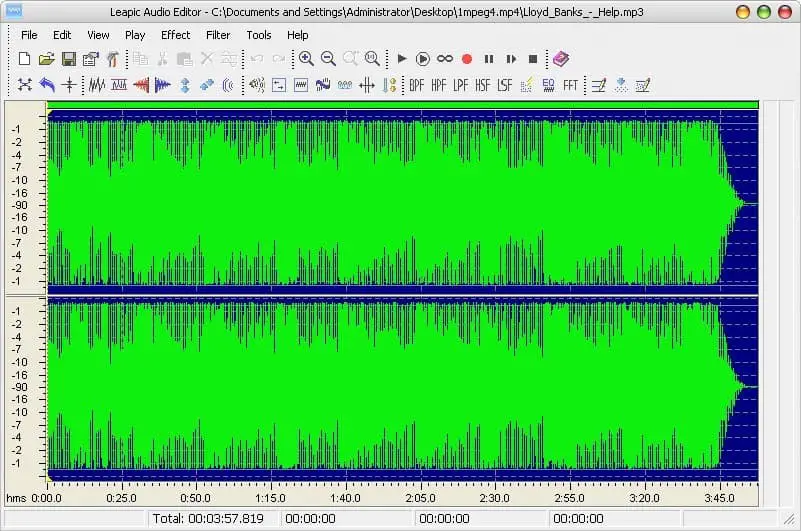
The few other features of this free audio enhancer tool include options to amplify, normalize, add chorus effects, shift audio pitch, compress, perform audio equalization, etc.
See Also: 5 Best Free Green Screen Software To Use In 2024
FAQS
Which audio enhancer is best?
Boom 3D, FxSound, and SoundPimp are the most recommended audio enhancers. They are user-friendly, free of cost, and readily available to download. Other audio-enhancing apps are Breakaway Audio Enhancer, Bongiovi DPS, and Viper4Windows.
How to Enable Sound Enhancements?
In Windows, you can enhance sound by using built-in enhancers. Try: Click the Speaker icon on Taskbar Select Sounds Click the Playback tab and double-click on the device to alter. Then, click kn Enhancement tab and check for sound enhancement. Adjust sound through Virtual Surround or Loudness Equalization. Click ok, and you're done.
Should I use audio enhancements in Windows 10?
Audio Enhancement does benefit audio quality, but it can sometimes also cause problems. Try turning off Audio Enhancement to restore audio settings.
How can I boost my Windows sound?
You can boost your Windows using Loudness Equalizer Alternative or Google Chrome. You can also try apps like Sound Booster, Boom 3D Sound Enhancer, or FxSound Application to enhance the loudness.
Conclusion
As mentioned above, audio-enhancing software can help to assist in effortlessly improving your audio; these are the few best audio enhancer for Windows 10. They are primarily cost-free and have an easily understandable interface that makes them user-friendly and widely utilized. If you are searching for the best audio enhancer for Windows 10, you can try these audio enhancers. After learning to improve audio, why not try playing virtual instruments like drums and guitar? Click here to see the 5 Best Music Notation Softwares for you to download.
Keep reading us!
See Also: Quick Steps On How To Connect The Wired Headset To PS4