how to connect nintendo 64 to smart tv
Are you eager to know how to connect Nintendo 64 to smart TV? Imagine that you’ve dusted off your old Nintendo 64 and are eager to relive some classic gaming memories, only to realize that modern TVs lack those familiar red, white, and yellow RCA ports. Connecting retro consoles to today’s tech can feel like a puzzle, but fret not—it’s completely doable!
The simplest approach is to use an RCA to HDMI converter, which allows your N64’s analog signals to be interpreted by your smart TV. You need to buy an RCA to HDMI converter or an RF to HDMI converter.
To know how to connect Nintendo 64 to smart TV, proceed to:
- Connect the Nintendo 64’s RCA or RF cables to the corresponding ports on the converter.
- Attach an HDMI cable from the converter to your smart TV.
- Set your TV to the correct HDMI input and power on both devices.
Initial Considerations for Connecting Nintendo 64 to Smart TV
Before starting, you must understand that modern TVs and old Nintendo 64 consoles aren’t naturally compatible. The main challenge is that N64 uses analog signals, while smart TVs rely on digital signals. Converting these signals requires extra equipment. 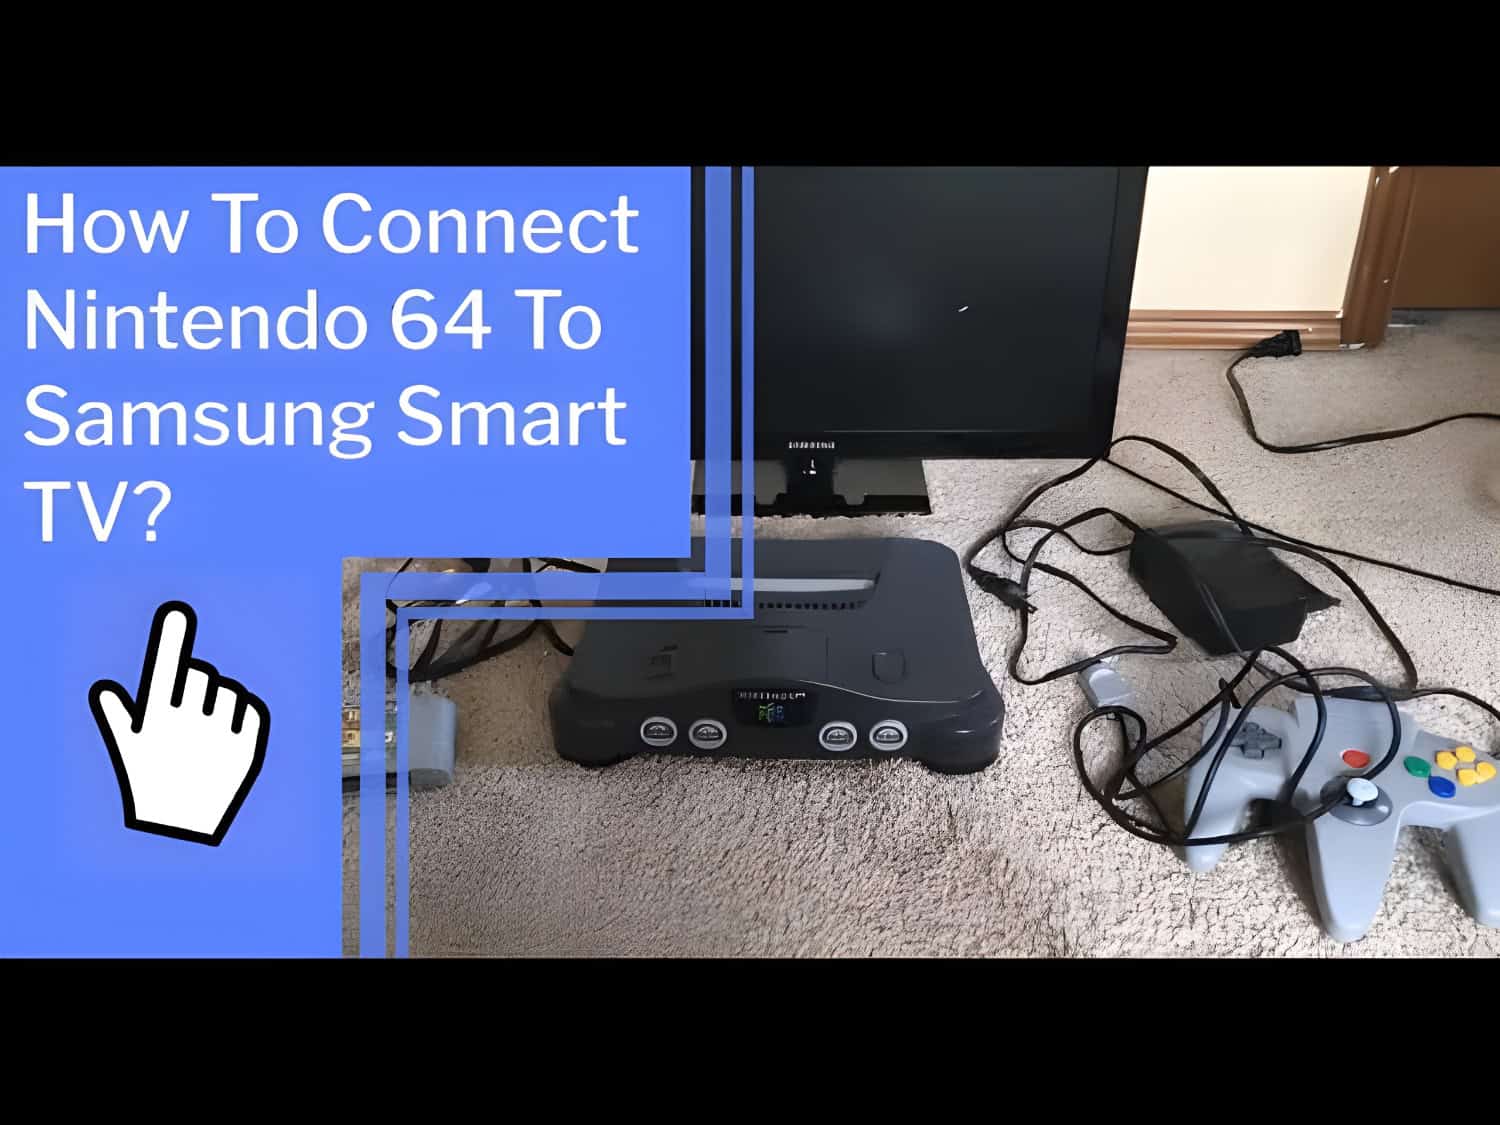
- First, identify the cables and ports available on your smart TV. Most older consoles, including the N64, use RCA connectors, which are red, white, and yellow cables. Smart TVs usually have HDMI ports.
- You’ll also want to consider the cost of necessary adapters or converters. While they’re not expensive, some can be pricier depending on their quality and features. Make sure to buy a reliable converter to avoid poor-quality visuals.
- Finally, consider the space and setup of your gaming area. Ensure you have enough room for your Nintendo 64 to reach your TV comfortably. Planning ahead helps avoid any hassles during the setup process.
Additional Equipment Needed
So, how to connect Nintendo 64 to smart TV? Besides the RCA or RF to HDMI converter, you’ll need a few extra pieces of equipment.
- A reliable HDMI cable connects the converter to your smart TV. HDMI cables come in various lengths, so choose one that fits your setup.
- Power is another consideration. Many converters require an external power source. This is often provided through a USB cable that you can plug into a USB port on your TV or a power adapter.
- If you’re using a Nintendo 64, ensure you have the original power supply. Replacement power supplies can be found online. Always verify compatibility with your console.
- Lastly, consider getting a surge protector. This can protect your devices from electrical surges, adding an extra layer of safety.
Suggested List:
- RCA or RF to HDMI converter.
- HDMI cable.
- Power supply for the converter.
- Original or compatible power supply for the Nintendo 64.
- Surge protector.
Why Use an RCA to HDMI Converter
You’ll need an RCA to HDMI converter if you don’t know how to connect Nintendo 64 to smart TV. 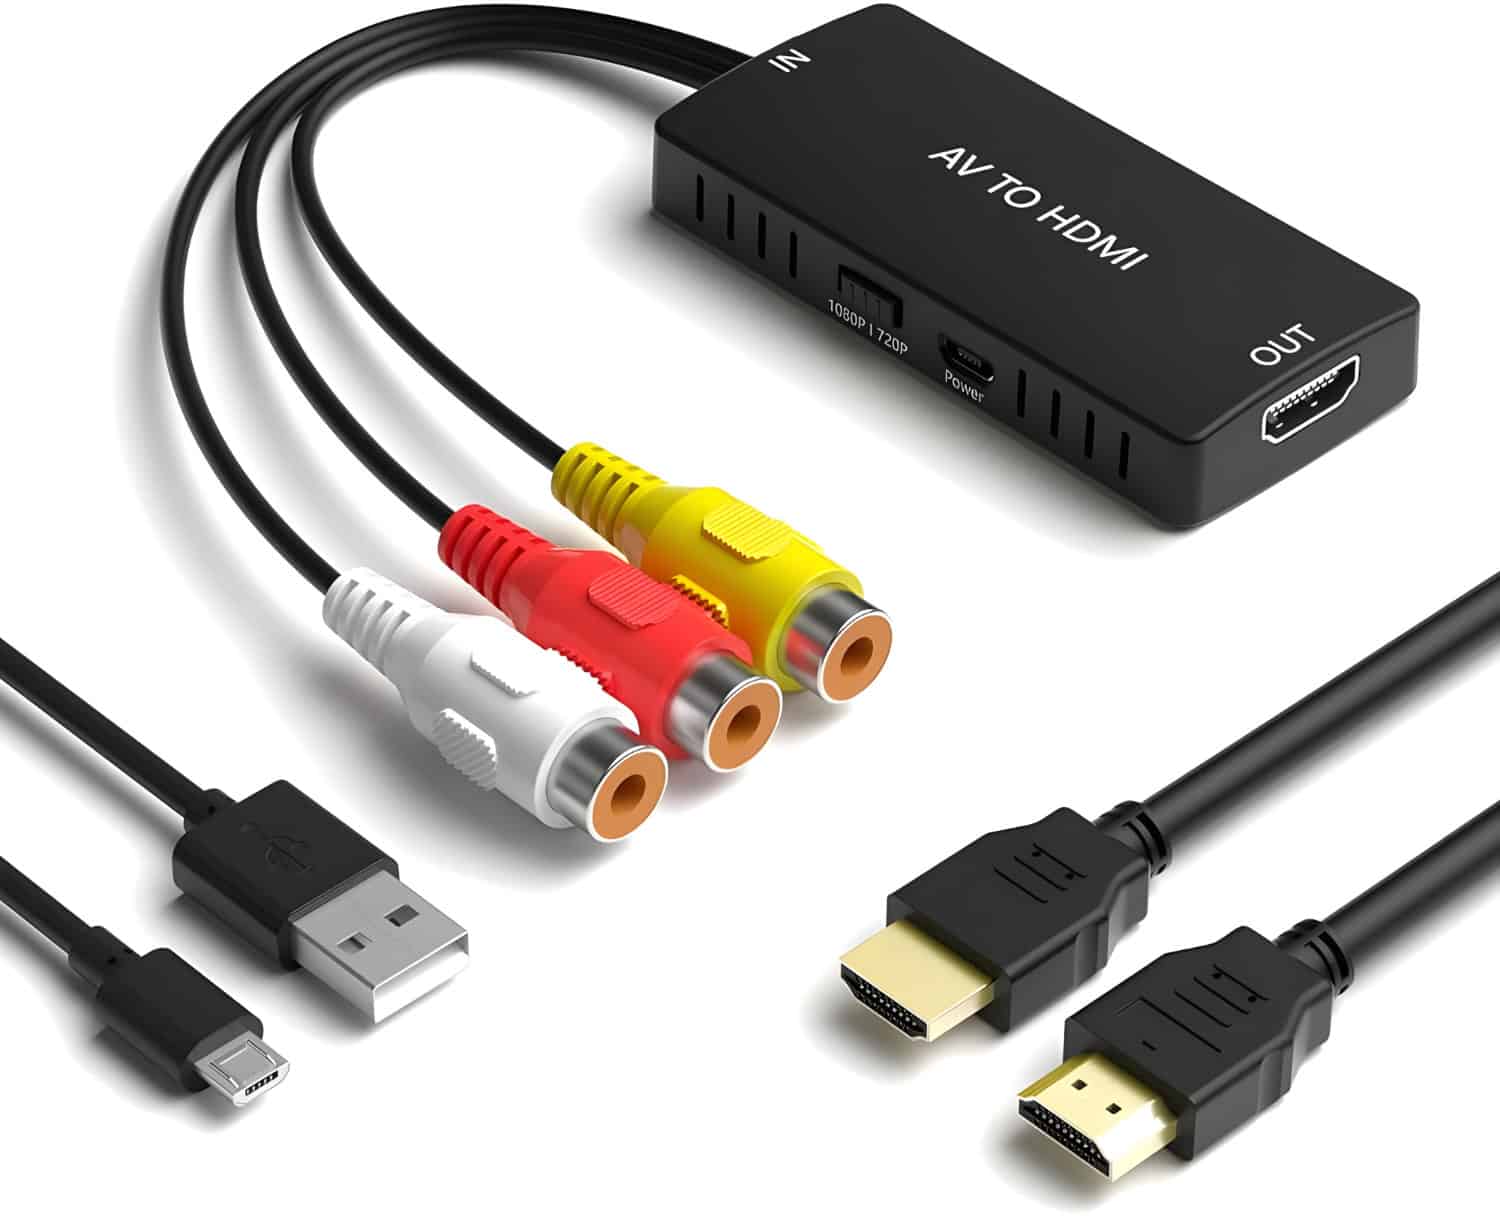
- These converters make old consoles work with modern TVs by changing analog signals to digital ones. They also help maintain good video quality.
- Using a converter extends the life of your old gaming consoles. It offers a simple way to play your favorite retro games with today’s technology, allowing you to enjoy your classics with newfound ease.
Benefits of RCA to HDMI Converters
Compatibility: Converters connect devices with RCA outputs to modern HDMI ports, bridging the gap between old and new technology.
Video quality: Some converters offer upscaling features. They enhance the old analog signal to look better on modern screens.
Ease of Use: Converters are easy to set up and use. With simple plug-and-play functionality, no learning curve or technical know-how is required. Just plug in and play!
Where to Buy RCA to HDMI Converters
- One place to buy these converters is at local electronics stores. Smaller stores sometimes offer expert advice, and talking to staff for recommendations is always good.
- You can buy RCA to HDMI converters online on websites like Amazon and Best Buy, which offer many options. You can compare prices and read reviews.
- Additionally, some specialty gaming stores may carry these converters.
Choosing the Right Converter for You
- Features: Some models offer additional functionalities like upscaling. Determine your needs before purchasing.
- Feedback: Pay attention to customer reviews and ratings. Focus on converters known for durability and video quality. A well-reviewed converter is likely to perform better.
- Price: Many affordable options exist; even budget-friendly models can work well for simple setups.
How to Use an RCA to HDMI Converter: Step-by-Step Guide
Converting your Nintendo 64 to work on a smart TV is easier than you think. You’ll need an RCA to HDMI converter, RCA cables, and an HDMI cable. Additionally, if you’re dealing with other types of remote controls, like for an LG TV, understanding RCA universal remote codes for LG TV might be beneficial. Here’s a step-by-step guide. 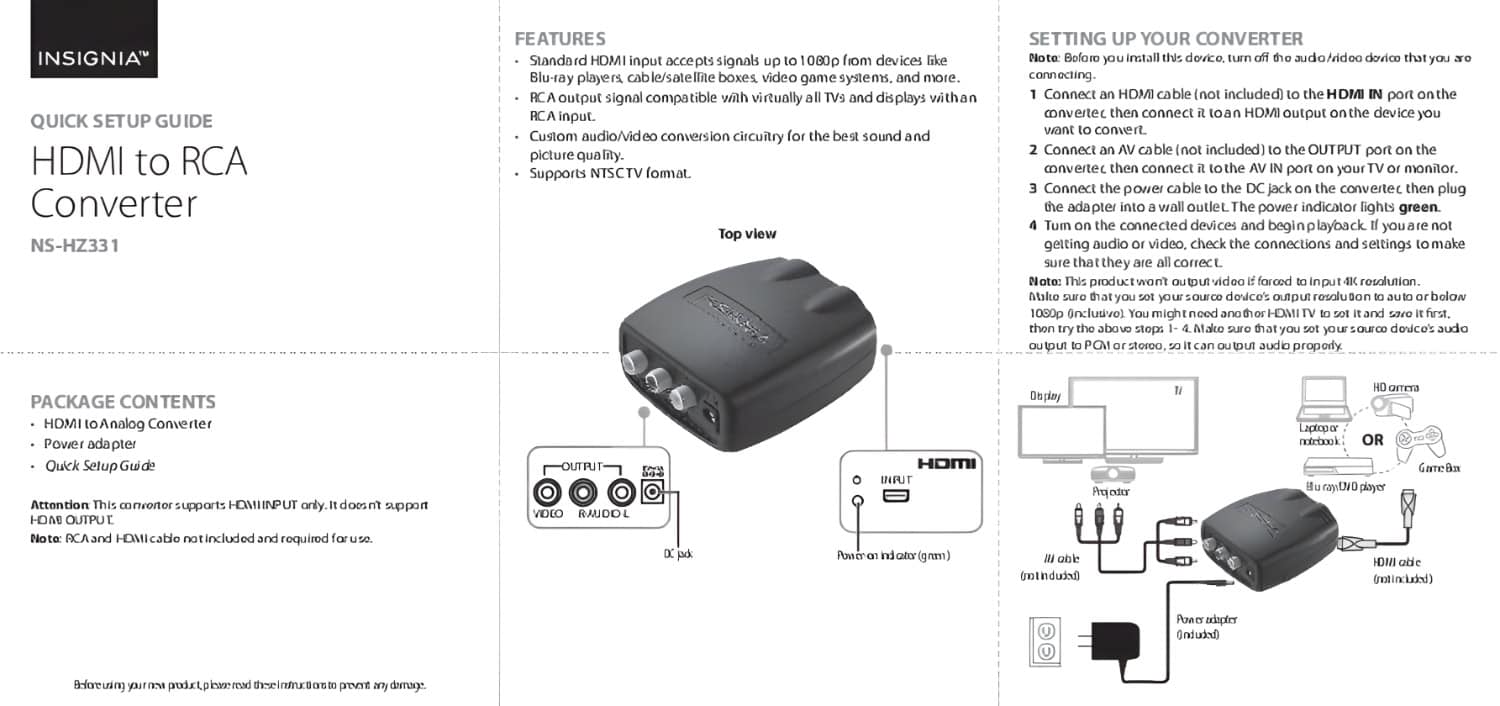
Step 1: Connect the Nintendo 64’s RCA cables (red, white, yellow) to the corresponding ports on the RCA to HDMI converter. Make sure each cable matches the correct color.
Step 2: Plug one end of the HDMI cable into the converter’s HDMI output. Attach the other end to your smart TV’s HDMI port. Now, power on the converter.
Step 3: Turn on your Nintendo 64 and switch your TV to the HDMI input you’ve connected to. You should see the Nintendo 64 startup screen on your TV. Adjust any necessary settings for optimal viewing.
Alternative Method: Using RF to HDMI Converters
If your Nintendo 64 lacks RCA outputs, an RF to HDMI converter might be your solution. These converters convert RF signals into HDMI and are designed for older systems and newer TVs. 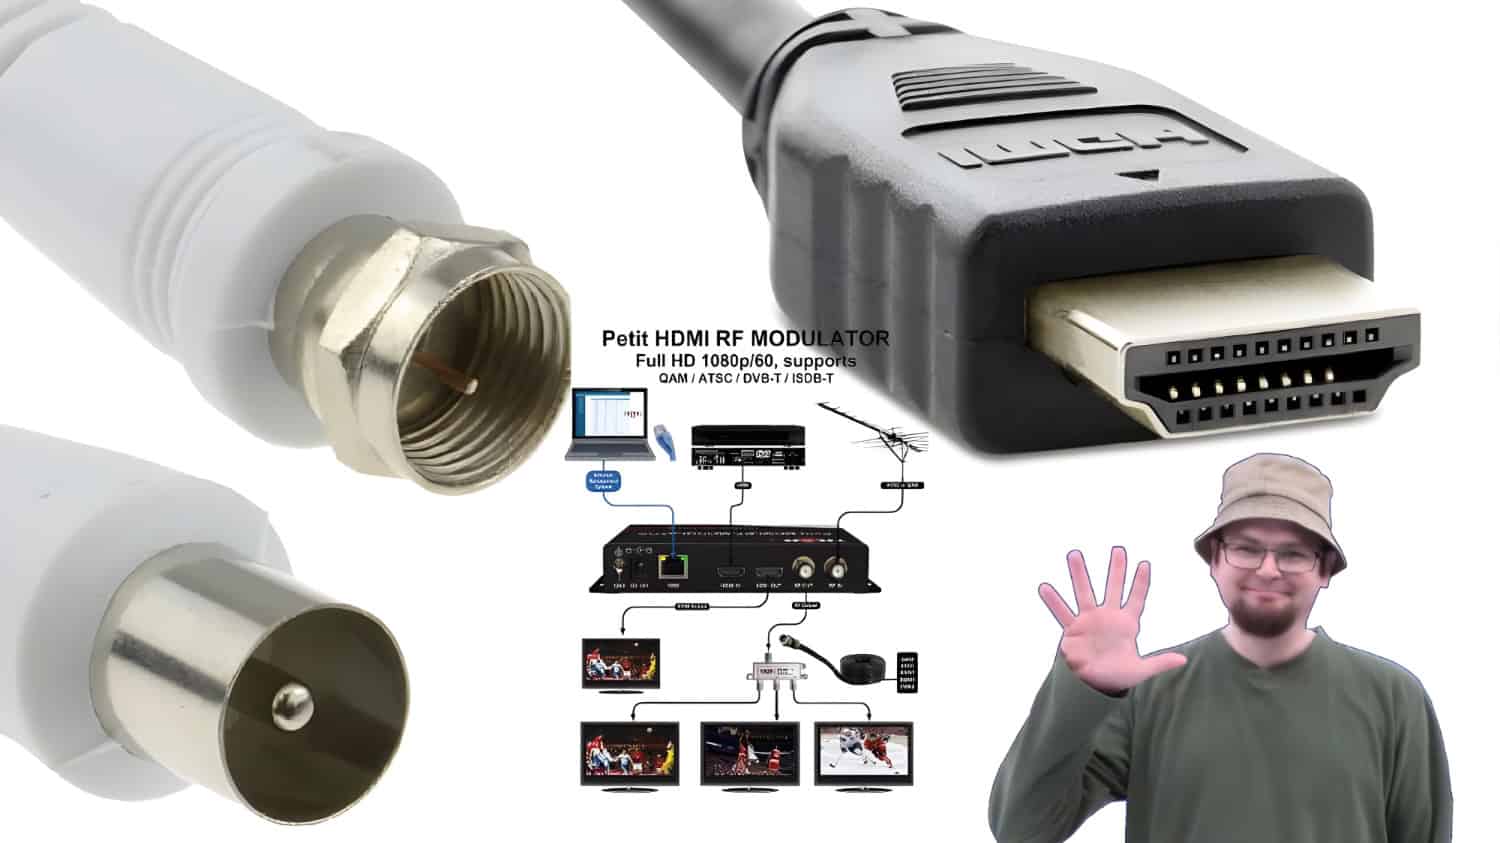
Step 1: Connect the RF cable from your Nintendo 64 to the RF input on the converter. Secure the connection to avoid signal loss. Ensure it’s tightly plugged in.
Step 2: Attach an HDMI cable to the HDMI output on the converter. Plug the other end into an available HDMI port on your smart TV. Turn on the converter.
Step 3: Turn on your Nintendo 64, then switch your TV source to the corresponding HDMI input. If you’re at a hotel, change the input on the hotel TV to the corresponding HDMI port. You should see the Nintendo 64 screen on your TV.
Additionally, navigate to the picture and sound settings on your TV menu. Ensure the resolution and sound levels are optimized for gaming.
Considerations when using an RF to HDMI Converter
- These RF to HDMI converters are slightly more complex than RCA models. They often include additional settings and features. Make sure to read the manual for optimal use.
- Another consideration is the potential for lag and signal quality issues. Sometimes, RF signals can be weaker, affecting picture clarity. Therefore, choose a high-quality converter to minimize any problems.
Setting up the Nintendo 64
Now that your Nintendo 64 is connected to your smart TV, it’s time to power it up. 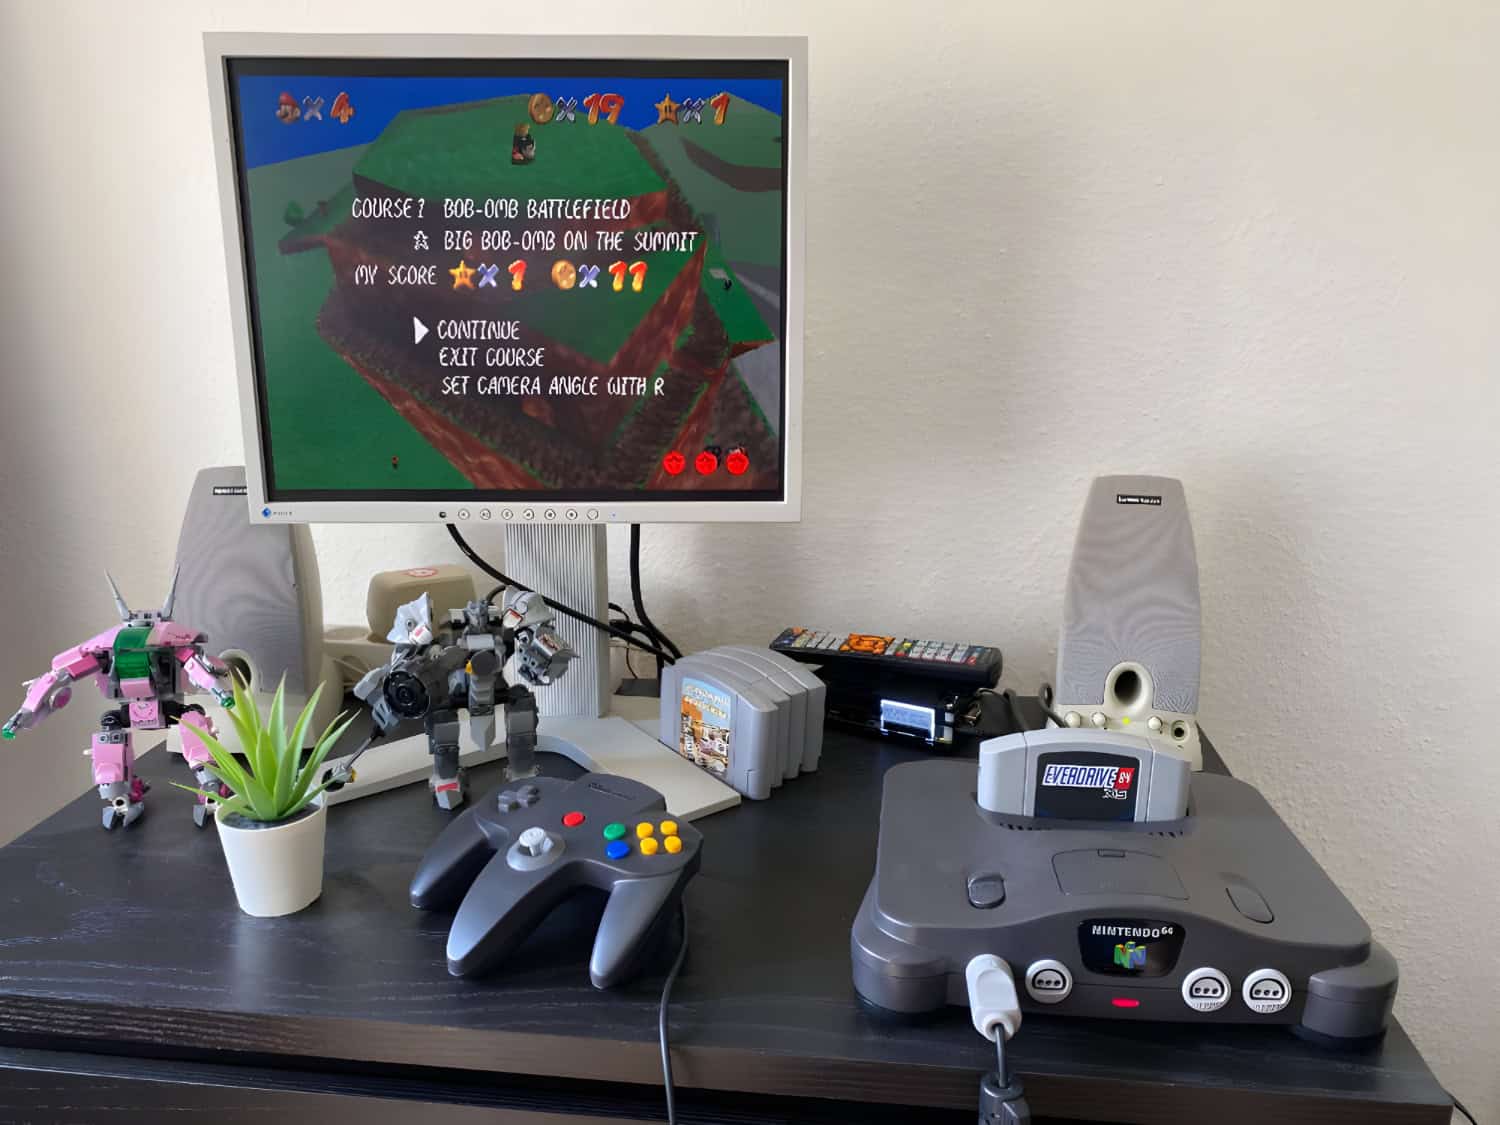
Step 1: Plug the console’s power supply into an outlet and connect it to the back of the Nintendo 64.
Step 2: Insert your favorite game cartridge into the console. Push down firmly until you hear a click. This ensures the cartridge is properly seated.
Step 3: Turn on the Nintendo 64 by flipping the power switch. You should see the game’s start screen on your TV. Clean the cartridge’s contacts with a soft cloth if the game doesn’t load.
Step 4: Finally, grab your controller and start playing. Enjoy the nostalgic gaming experience in a modern setup. This method allows you to relive classic moments with updated technology.
Potential Issues and Troubleshooting
Even with a proper setup, you might face some issues.
If all else fails, consult online forums or support groups for advice. Many experienced gamers share tips and tricks for solving common problems. You’re likely not alone in facing these issues.
Maintaining Your Nintendo 64 Console for Optimal Use
Keeping your Nintendo 64 in good condition ensures it works well with your smart TV. 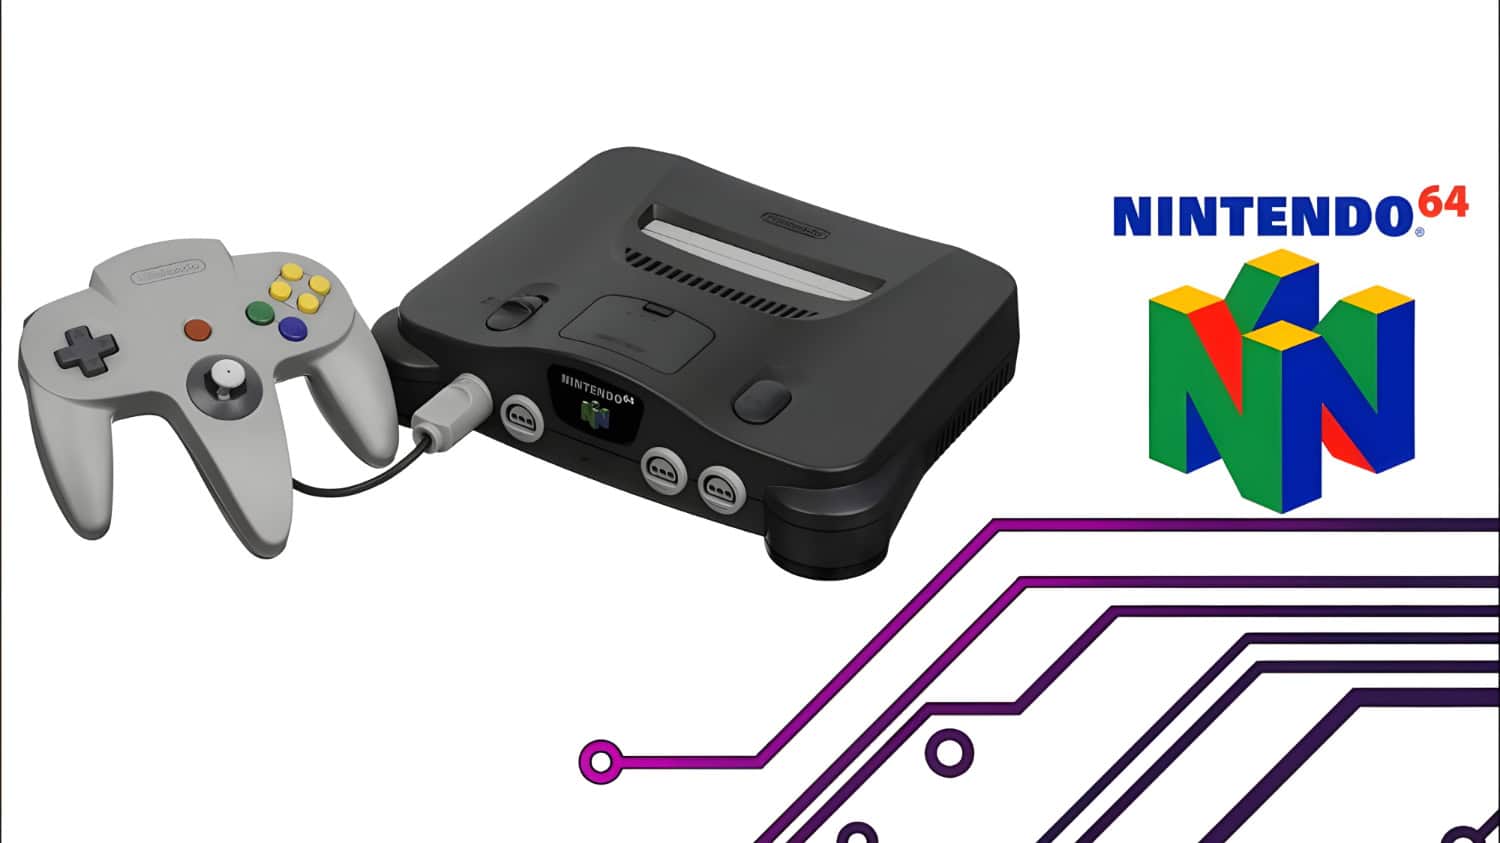
- Regular cleaning is essential. Use a soft cloth to wipe down the exterior.
- Make sure to clean the game cartridges as well. Dust and debris can affect performance. Use a cleaning kit or a soft cloth for the connectors. Avoid using abrasive materials that might damage them.
- Store your console in a cool, dry place. Avoid exposing it to extreme temperatures or humidity. This helps prevent internal damage.
- Check the power supply and cables regularly. Look for signs of wear and tear. Replace any damaged components immediately.
- Finally, play your games periodically. This keeps the internal components in good working order. Regular use prevents issues due to inactivity.
Maintaining Your Cable Connections for Optimal Performance
Keeping your cable connections in good shape is key for a smooth gaming experience. 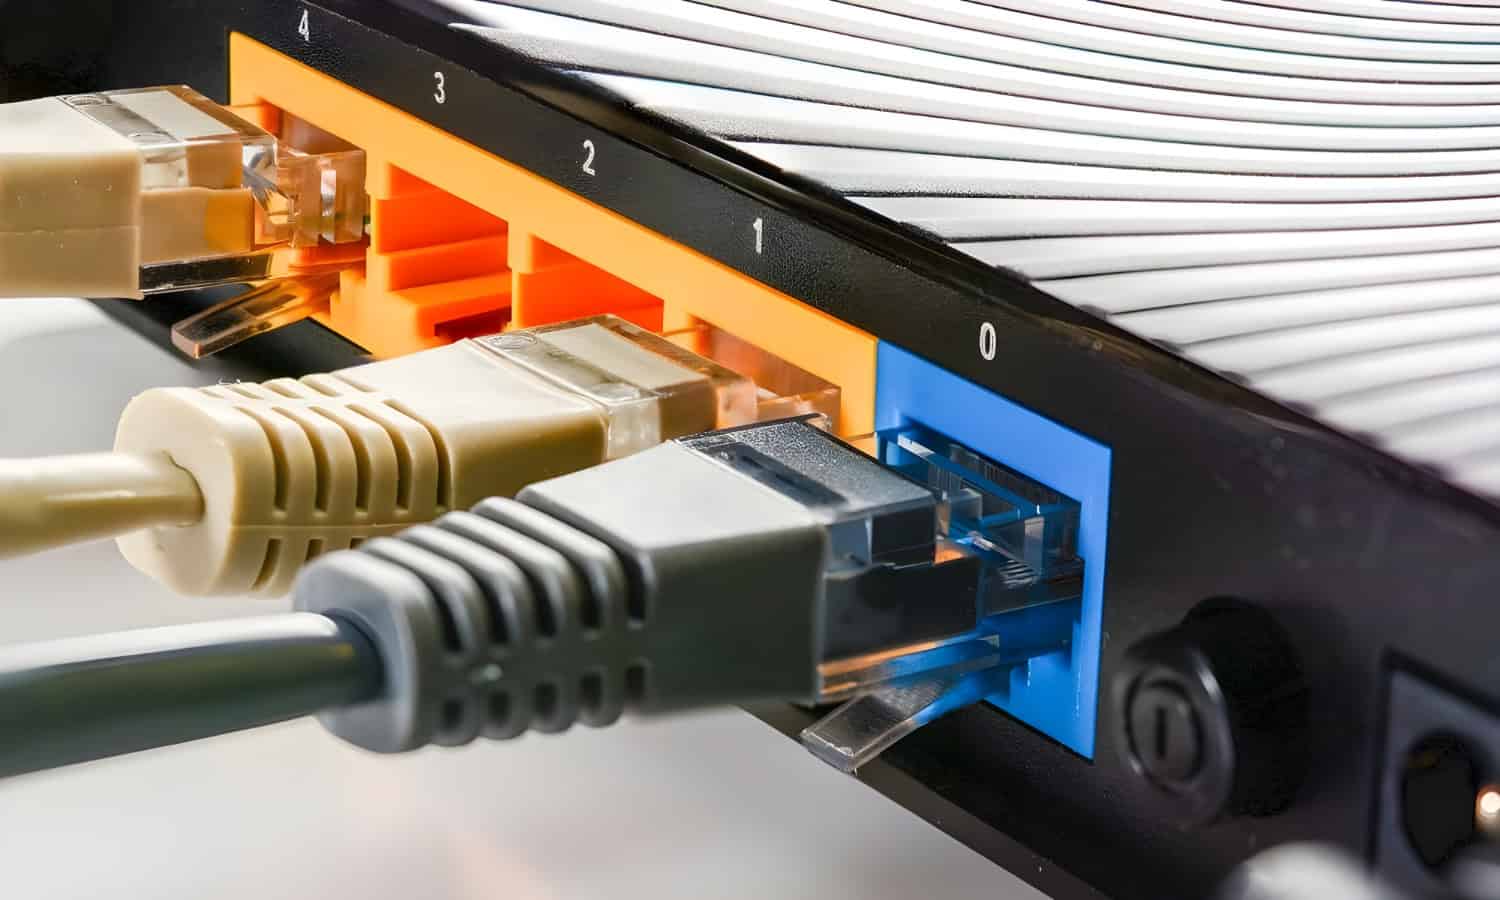
- Regular checks can prevent potential issues. Inspect all cables for wear and tear.
- Dust can interfere with connection quality. Make it a habit to clean all connectors and ports. Use a can of compressed air to clear out dust.
- Organize your cables to avoid tangling. Tangled wires can be more easily damaged. Use cable ties or organizers to keep them tidy. Additionally, label them for easy identification.
- Replace old or damaged cables promptly. A faulty cable can ruin your gaming session. Invest in good quality cables for better performance.
- Ensure that connections are secure. Loose connections can cause signal loss. Double-check that all plugs are fully inserted.
Navigating Your Smart TV Settings for Best Gaming Experience
Tuning your smart TV settings can drastically improve your gaming experience. 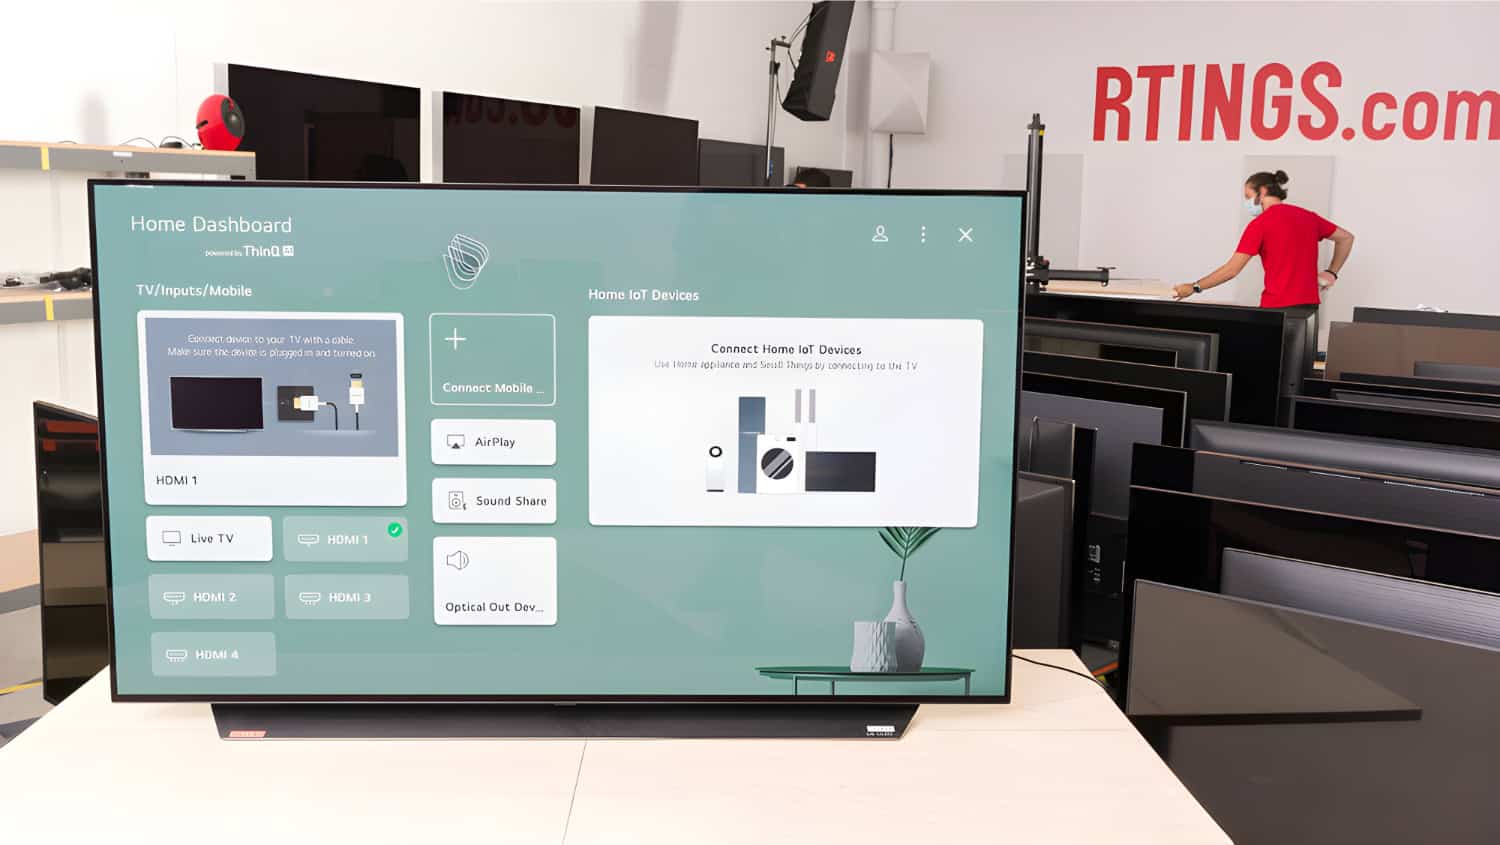
- Start by accessing the picture settings menu. Look for options like Game Mode. Game Mode minimizes input lag, making your controls more responsive. It’s ideal for fast-paced games.
- Adjust the brightness and contrast settings. Too much brightness can strain your eyes. Find a balanced setting that works best for you.
- Additionally,
- Reduce motion smoothing for realistic visuals
- Set the aspect ratio to “Just Scan” or “Fit to Screen.”
- Turn off energy-saving settings that dim the screen
- Check the sound settings as well. Smart TVs often offer a Sound Mode. Select one that enhances in-game audio.
- Finally, make use of any advanced settings. Some TVs offer color calibration. Tweak these settings for better game visuals.


