If you’re an aspiring coder or a casual geek who enjoys tinkering and DIY school projects, a single-board computer is one of the most useful items you can find for yourself. The retail price now is around 1500, and it comes with a 1 GHz single-core CPU and 512 MB RAM.
Here are 10 Raspberry Pi Zero Projects:
- Raspberry Pi Zero Drone
- Retro Gaming System
- Smart Security Camera
- Smart Environment Monitor
- Smart Plant Water System
- House Alarm
- VPN Server
- Pen testing
- Smart Car
- Electric Skateboard
If you have twin thoughts with raspberry pi zero projects, we’ve got ten projects for you to try right now.
Table of Contents
10 Raspberry Pi Projects You Should Know About
Let’s take a look at this raspberry pi zero w projects and raspberry pi zero uses.
Raspberry Pi Zero Drone
Drones are usurping a lot of space in our lives, whether as a hobby or for work. But, unfortunately, they’re still too expensive for several individuals. This project aims to form a cheap drone with intelligent capabilities. And the easiest method to try to do this is often to use a raspberry pi zero project because of the drone’s brain. Aside from a drone and a Raspberry Pi Zero, this project necessitates the utilization of a PXFMini autopilot board and a custom UNIX operating system OS image. However, the automaton package is often accustomed to visualizing the drone’s flight mode and state.
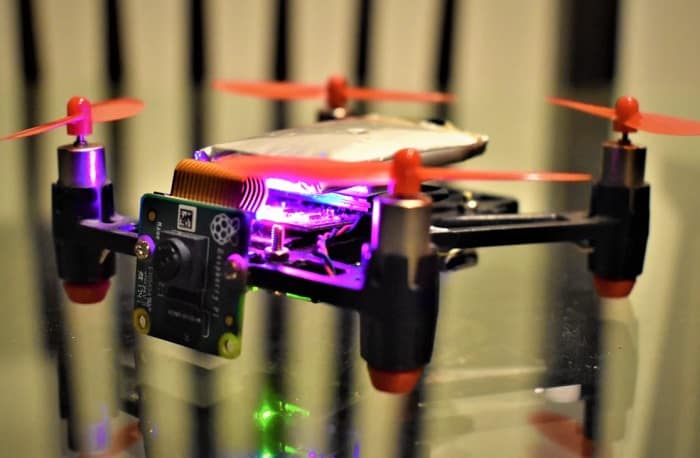
Visit: Raspberry Pi Drone
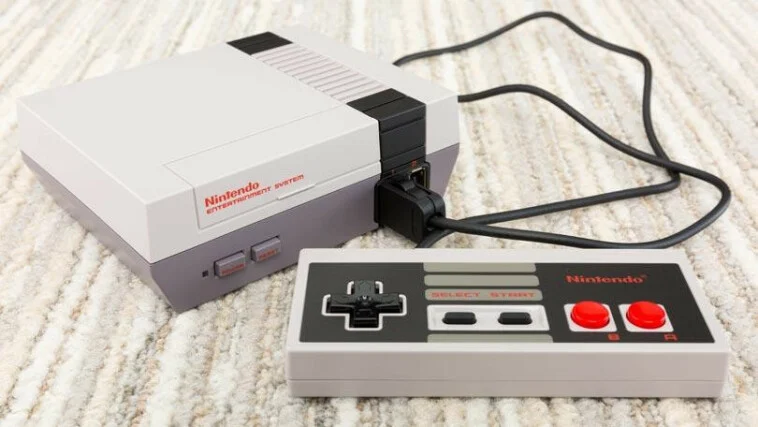
Retro Gaming System
The Xbox and PlayStation might dominate the gaming world these days. However, they’re obscurity close to as fun as classic gaming consoles from the past, like the Gameboy and SNES. So the first project idea is to maximize retro gaming by specifically exploiting recent controllers. You might, as an example, place a Raspberry Pi Zero in an exceedingly Gameboy or SNES. Then install Retropie on that and set it up to play your favorite games on the original controller.
Smart Security Camera
You can use the Raspberry Pi Zero’s little size to create a distinct police investigation camera. Since a security camera project might not like the facility of the Raspberry Pi three, Zero can be the higher selection. You’ll be able to mount it into any camera case handily, or maybe higher, purchase a fake camera to reduce the cost. You can configure it to send mail objects using the OpenCV rule, and it right away sends the image to your email address. Aside from that, you’ll have the Raspberry Pi camera module and associated MDF board.
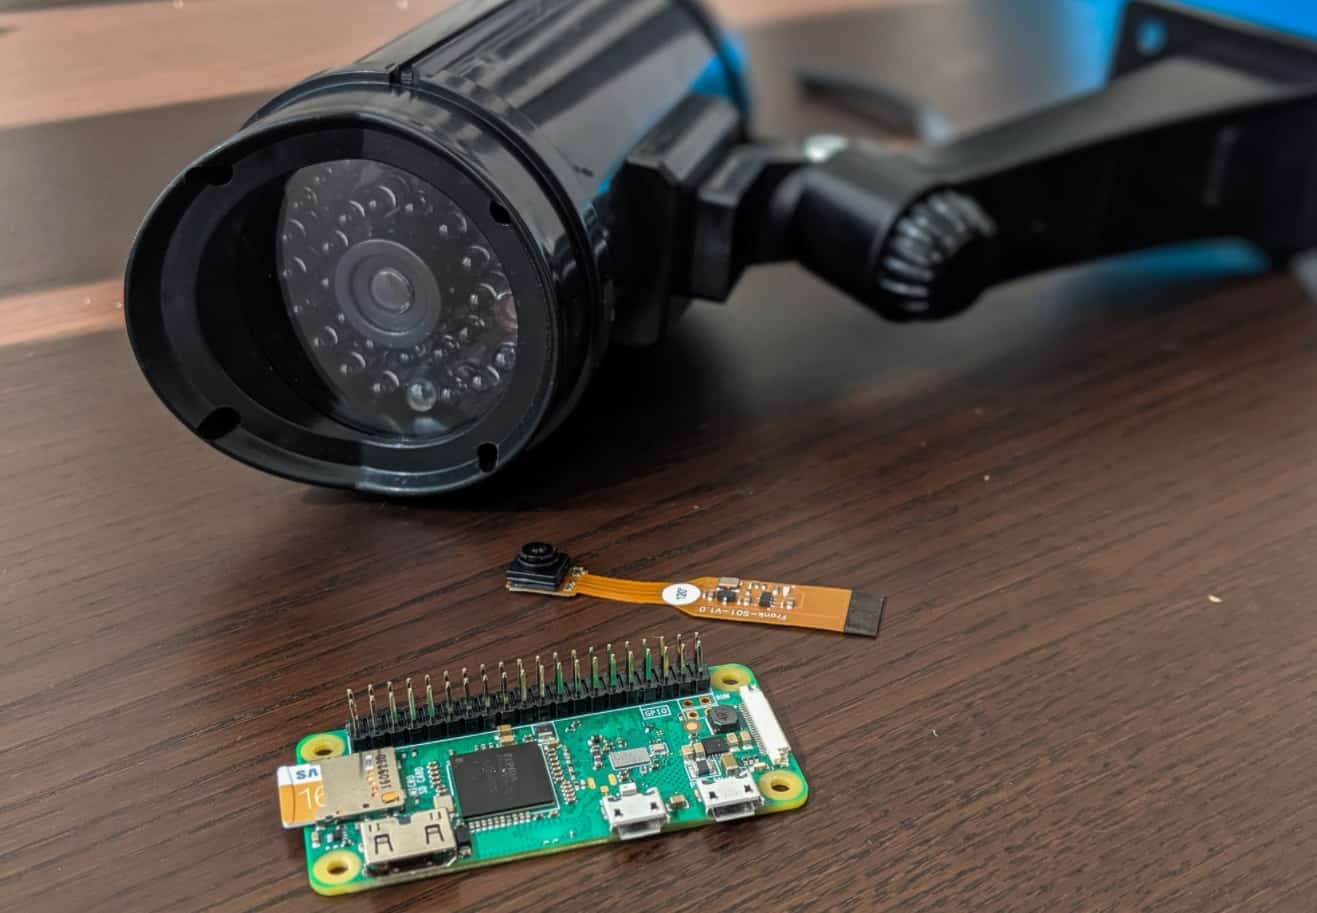
Visit: Smart Security Camera
Smart Environment Monitor
The basic plan is to use the raspberry pi zero projects to power a tool that will monitor multiple parameters like temperature, humidity levels, air pressure, etc., and send the information to the AWS IoT platform for process and analysis. In addition to a small amount of software package configuration, you’ll like many sensors for the project, like the Temperature and humidity sensing element. The “PiZero Cluster” board has thirty-two small USB ports for power and data input and sixteen USB A ports, and sixteen LAN interfaces.
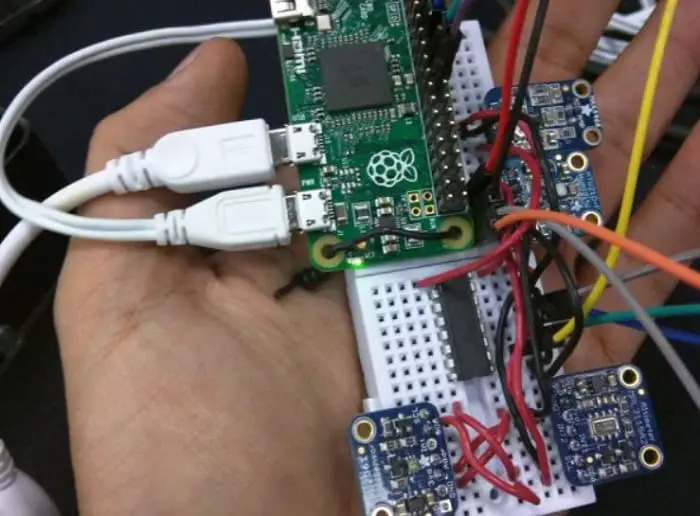
Visit: Smart Environment Monitor
Smart Plant Water System
At home, we all have a thing for plants. However, we still let them suffer, and we do not consider taking care of them. But it will be different from now on. First, you would like a Raspberry Pi Zero and a pump. Then you’ll use Python scripts to decide to send the required quantity of water at the required frequency. After that, I am pretty positive it should be simple to use a wetness detector or a weather API to merely water the plant once it’s fully necessary.
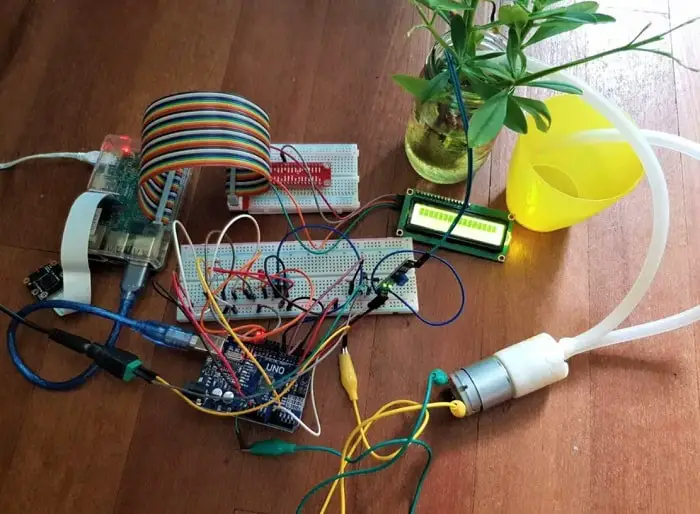
Visit: Raspberry Pi Smart Plant Watering
House Alarm
When you buy an alarm, what do you get? A security pad on a computer, cameras, perhaps a microphone, and a speaker to play this lovely music. You can get all of that for your Raspberry Pi. Then link it all together to build your home security system.
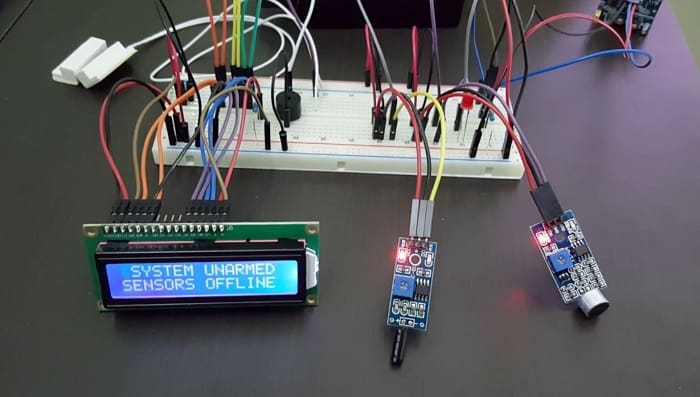
Visit: Home Alarm System
VPN Server
Yes, you can set up a VPN server on your raspberry pi zero projects and redirect all traffic through a private tunnel for increased protection and privacy. To set up and customize the tube, the project employs dedicated VPN software. You have got the choice to use either OpenVPN or WireGuard protocol. Besides, you’ll get to change SSH on Raspbian and forward the ports to the router, just in case you’re routing the traffic wirelessly. However, We’d advise you to employ an associate LAN port for quicker performance. To sum up, building a private VPN server with Raspberry Pi Zero may be a good way to leverage its potential.
Visit: Raspberry Pi VPN Server
Pen testing
A pen test is a virtual cyber assault permitted and funded by the target organization to assess the actual security standard. The Raspberry Pi Zero is ideal for pen research projects. The perpetrator can use every means possible to gain access to the company network, including physically linking a Raspberry Pi to the network. And you already know the rest: the Raspberry Pi Zero is the ideal device for remaining unnoticed in this situation.
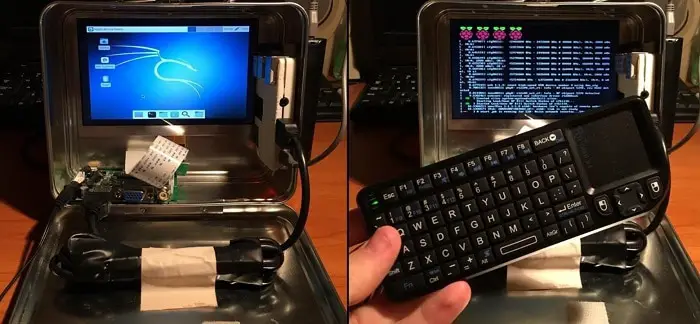
Visit: Raspberry Pi Pen Testing Tool
Smart Car
Smart cars are popular right now. One of the best RPI Zero projects you can build with a Raspberry Pi Zero is a smart car. You’ll need quite a heap of parts to form this. You will need wheels, cameras, LiPo batteries, and a bunch of different stuff. The project relies on Python to code stuff, so a simple understanding of Python is recommended. But, even if you don’t know what Python is, the guidelines are fairly comprehensive. You can easily follow them to complete the construct on your own. There’s no second thought about the fun things to do with raspberry pi 0 projects.
Visit: Raspberry Pi Smart Car
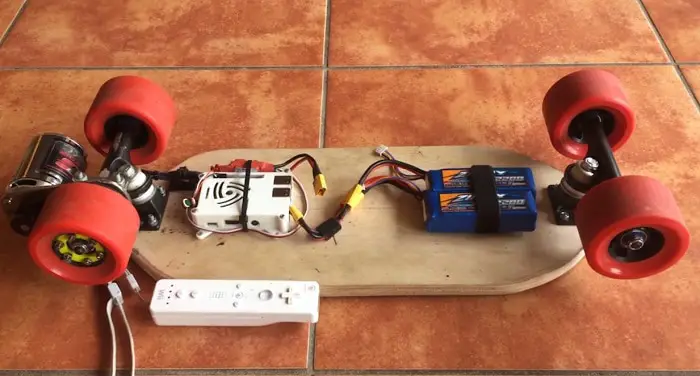
Electric Skateboard
As we all know, the majority of electric skateboards are very pricey. However, with the aid of a Raspberry Pie, you can make your very own electric skateboard. The components needed for this project are very basic. Besides a skateboard, you’ll like a battery to power the entire setup, a motor and a mount to carry it in situ, and a motor controller. You’ll also like a Wiimote to regulate the skateboard and the raspberry pi zero projects. This will act because of the “brains” of the entire widget.
FAQ
Can you use Raspberry Pi Zero as a computer?
As you can see, the Pi Zero can only provide the fundamental essentials for a desktop computer. Apart from network cards, you'll also need a USB hub to connect multiple USB devices and a mini-HDMI to HDMI converter for the display to finish the setup.
What's a Raspberry Pi Zero W good for?
The Raspberry Pi Zero W is suitable for building embedded Internet of Things (IoT) projects thanks to the addition of wireless LAN and Bluetooth. With remote connections and an unpopulated 40-pin GPIO, the Pi Zero W is designed to be as flexible and compact as possible. It enables you to employ only the resources that your project needs.
Is Raspberry Pi Zero discontinued?
Is the Raspberry Pi Zero W no longer available? Other models have struggled to get production time due to the Pi4's high demand. There are no plans to remove the Zero from the market.
Conclusion
To conclude, Enrich your skills with these amazing raspberry pi zero projects.
See also: How To Transfer ROMs To Retropie Over Network

Carly Earl, Guardian Australia’s pic editor, was a photographer and pic editor in Sydney for 8 yrs. She worked for The Daily Telegraph and Sunday Telegraph.