We all have faced this situation at least once where we just can’t stop watching our favorite music video on YouTube. We all have at times got addicted to watching a certain video on YouTube again and again. Be it a music video, comedy clip of your favorite comedian or some other video in that case. Thus, you must know about the finest Streaming Video Recorder Software.
While watching these videos again and again, what we do is waste a lot of bandwidth. This is a big problem if your internet plan is a limited one where you get only certain GB of data to be used per month. To save your precious data in this case, what you should do is use streaming video recorder software to download your favorite videos hassle-free.

Even if you have an unlimited data plan, Streaming video recorder software can be useful for you. You can download your favorite videos using streaming video recorder software for watching it when there is no internet connection. This might be useful for people with bad or fluctuating internet connection.
If you are a student, you can use this type of software for downloading and watching educational videos again and again without wasting bandwidth. Following are some of the best streaming video recorder software that you can download.
See Also: How To Change Unsupported Video Codec In Android
Table of Contents
Streaming Video Recorder Software to Download
Here are top video downloading softwares which are free to use and can be handy in having a good web downloading experience.
iTop Screen Recorder
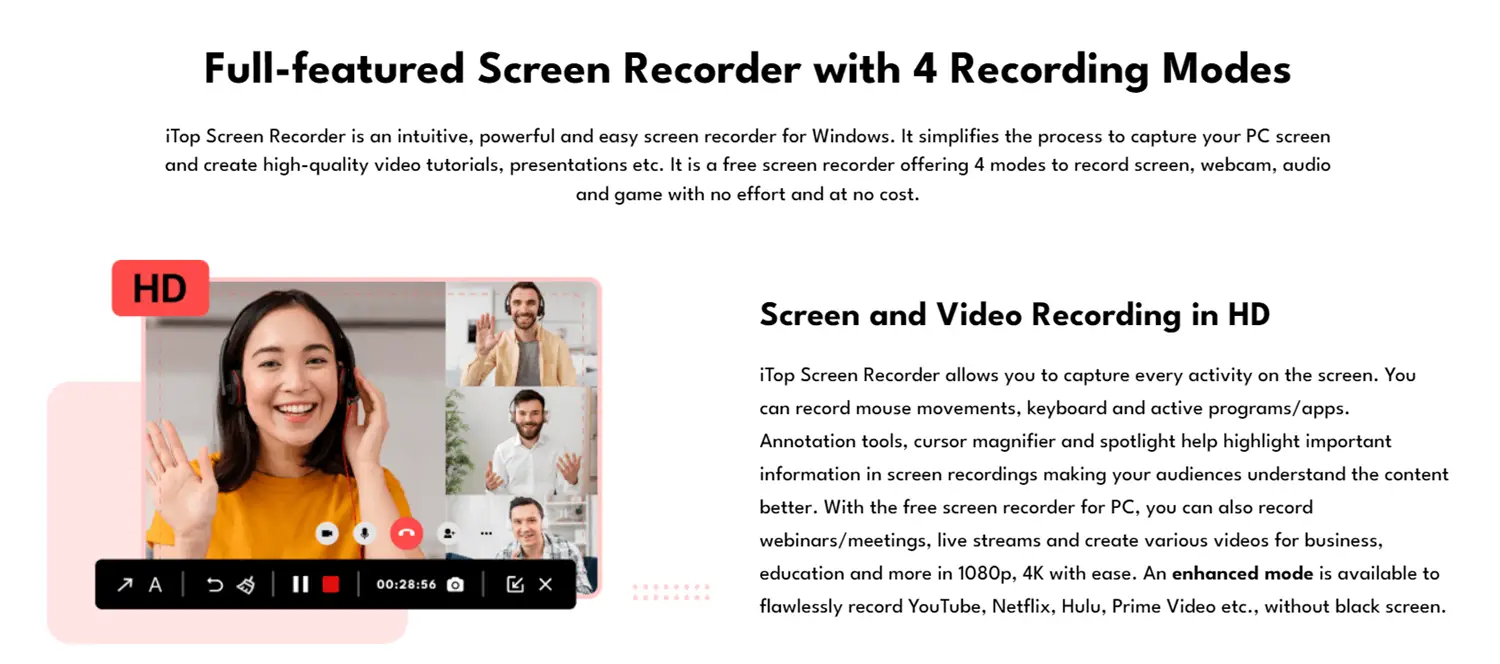
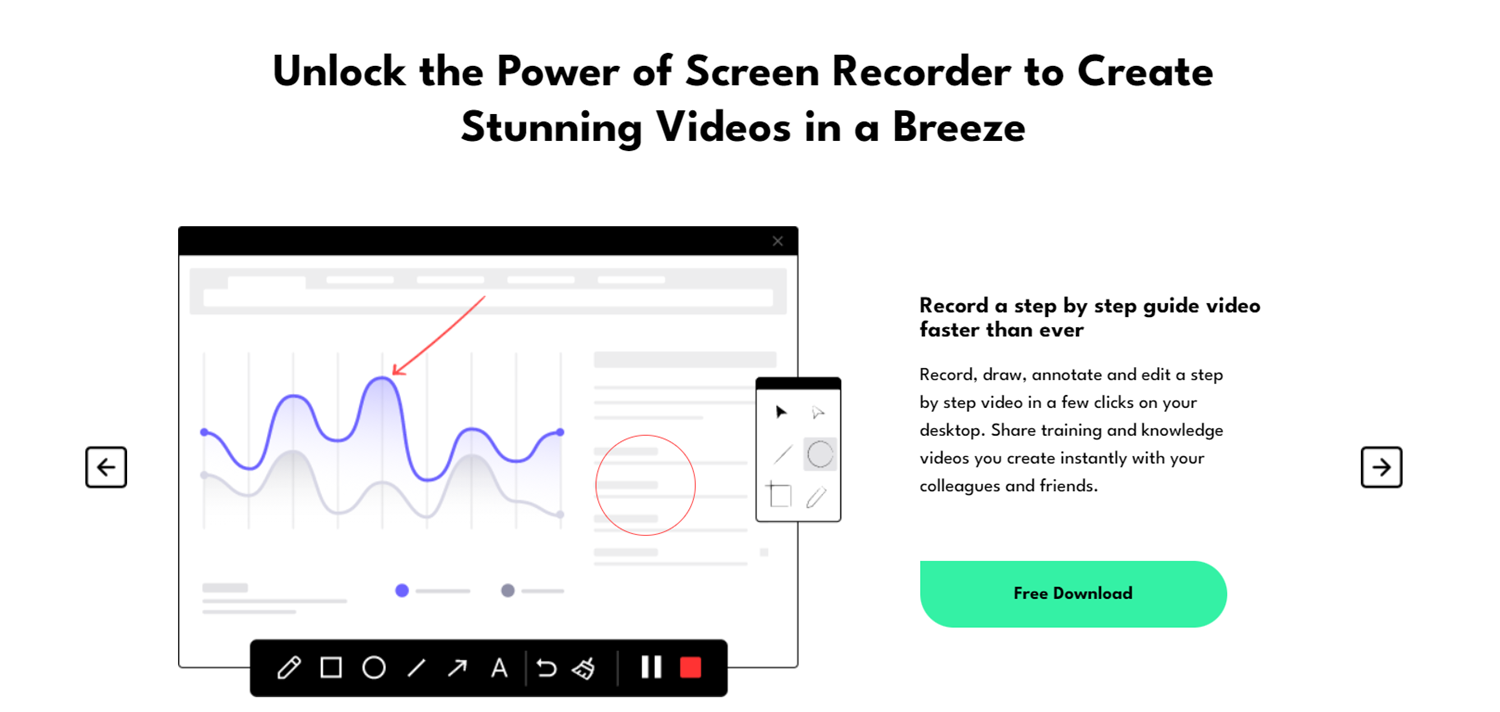
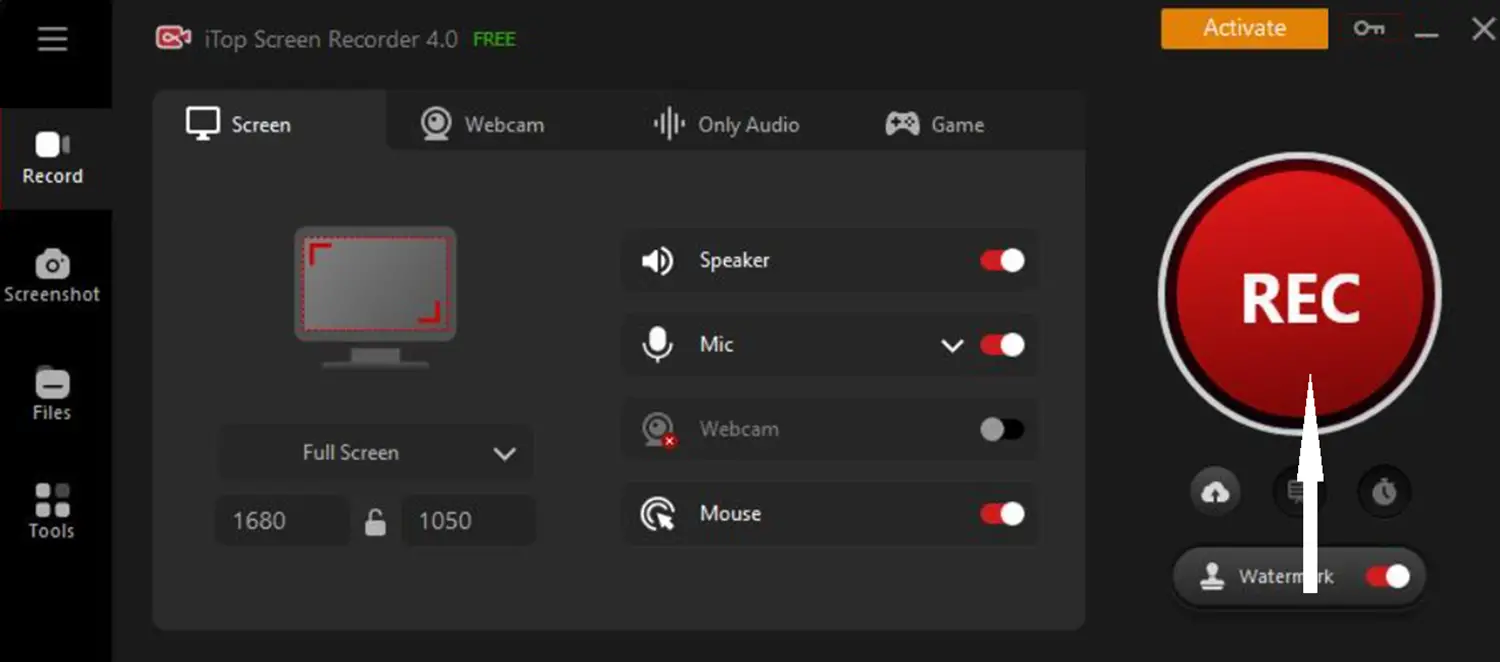
iTop Screen Recorder is a free, versatile, and powerful software tool designed to enhance your screen recording experience. iTop Screen Recorder lets you capture everything on your screen, including audio and webcam footage, in one go. This makes it perfect for creating video tutorials, presentations, game recordings, and more. And the built-in editor allows you to add polish to your recordings with ease. iTop Screen Recorder offers a comprehensive solution with high-quality output. It lets you easily capture activities on your computer screen, audio, and webcam. You can record your screen in full-screen, specific window, or custom area. The recorder supports recording in high-quality 1080p and 4K resolution without lag.
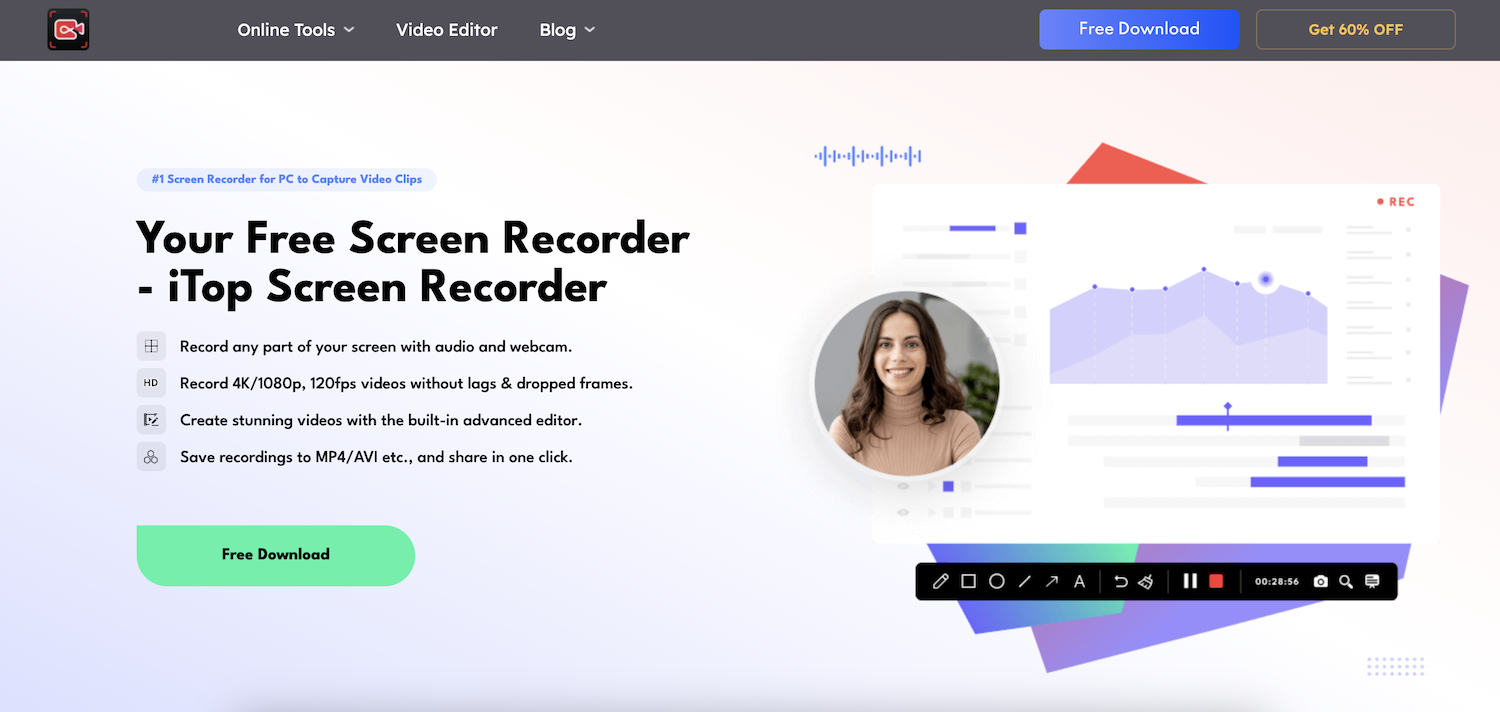
It has intuitive editing tools that let you trim, split, and merge video clips. You can add captions and annotations and apply visual effects. The software saves recordings in various formats like MP4, AVI, etc. iTop Screen Recorder is a great choice for creating tutorial and instructional videos for personal or business use.
Key Features:
- Multiple Recording Modes: Capture your screen, audio, and webcam simultaneously, eliminating the need for multiple recording tools. You can also record from your webcam or capture only audio if needed.

- High-quality recordings: Record in stunning 4K/1080p resolution at up to 120fps, ensuring your videos look sharp and professional.
- Versatile Output Formats: Save your recordings in popular formats like MP4, AVI, and MOV, or even create GIFs suitable for various platforms and purposes.
- Crystal-clear audio: Reduce background noise for crisp, clear audio narration.
- Game mode: Optimize recording settings for smooth, lag-free gameplay capture.
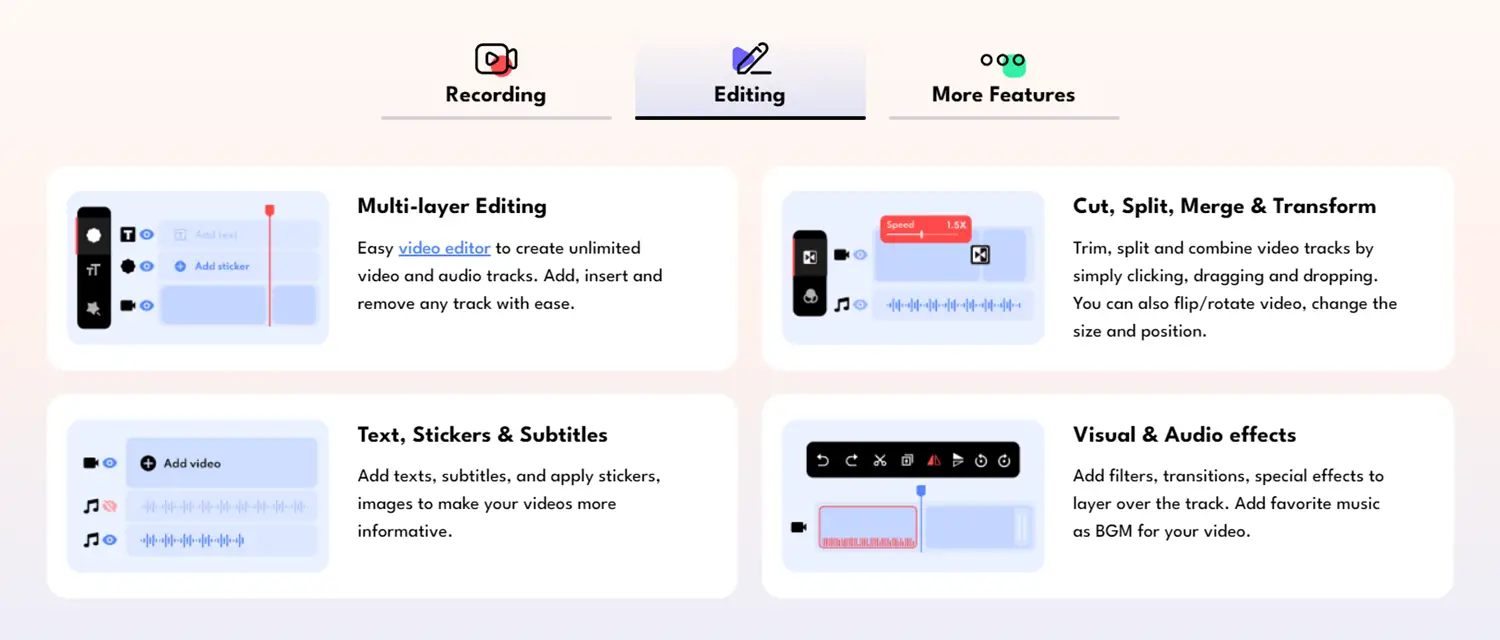
- Powerful editing suite: Built-in editing tools allow you to trim, cut, and split your recordings, add text, subtitles, and stickers, and apply video and audio effects.
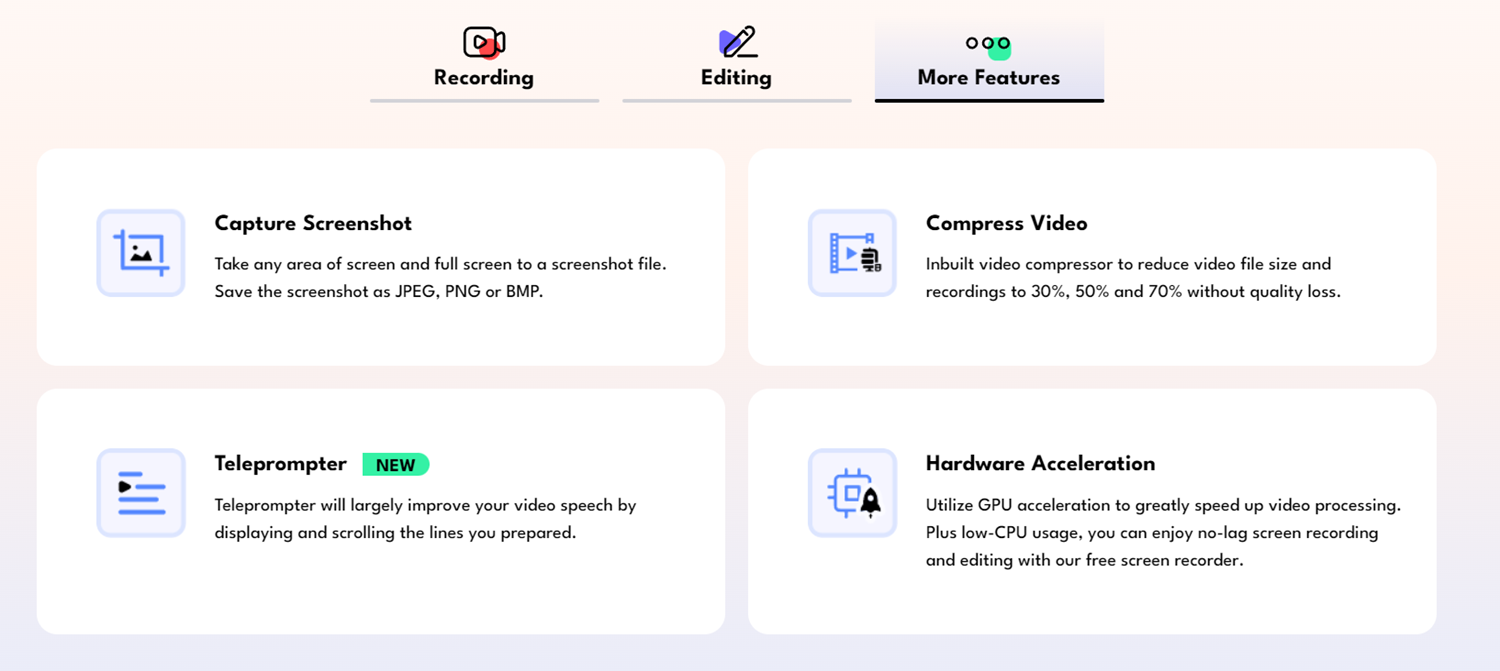
- Screenshot capture: Need to capture a still image instead of a video? iTop Screen Recorder has you covered, letting you grab screenshots with ease.
- Video compression: Reduce the file size of your recordings without sacrificing quality, making them easier to share and store.
- Teleprompter: Record yourself delivering presentations or tutorials with ease using the built-in teleprompter.
- Easy-to-Use Interface: Designed to be user-friendly, iTop Screen Recorder allows you to start recording with just one click. It’s ideal for both beginners and experienced users.
- Advanced Editing Tools: After recording, you can edit your videos directly within the software, adding text effects and customizing your content without the need for additional software.
With its comprehensive feature set, ease of use, and free price tag, iTop Screen Recorder is a powerful tool that can help you create professional-looking screen recordings for any purpose. Whether you’re a professional content creator, a gamer, or someone who frequently conducts online training, iTop Screen Recorder is tailored to meet your needs, making it a go-to choice for high-quality screen recording.
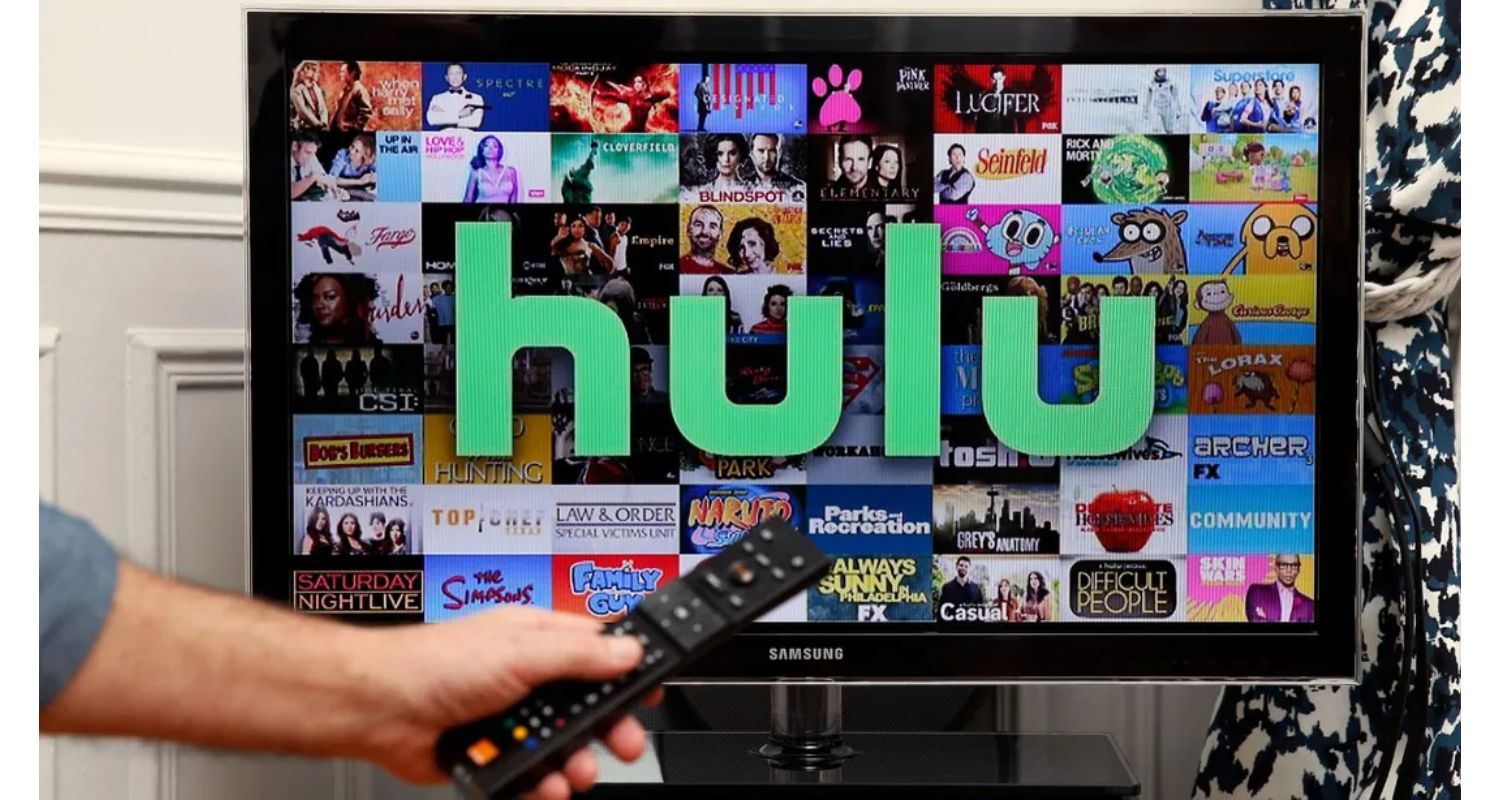
Steps to Record Hulu Live with iTop Screen Recorder
-
Download and Install: Head over to the iTop Screen Recorder website and download the free version of the software. Install it following the on-screen instructions.
-
Launch iTop Screen Recorder: Open the program once installed.
-
Select Recording Area: Decide how much of your screen you want to capture. You can choose:
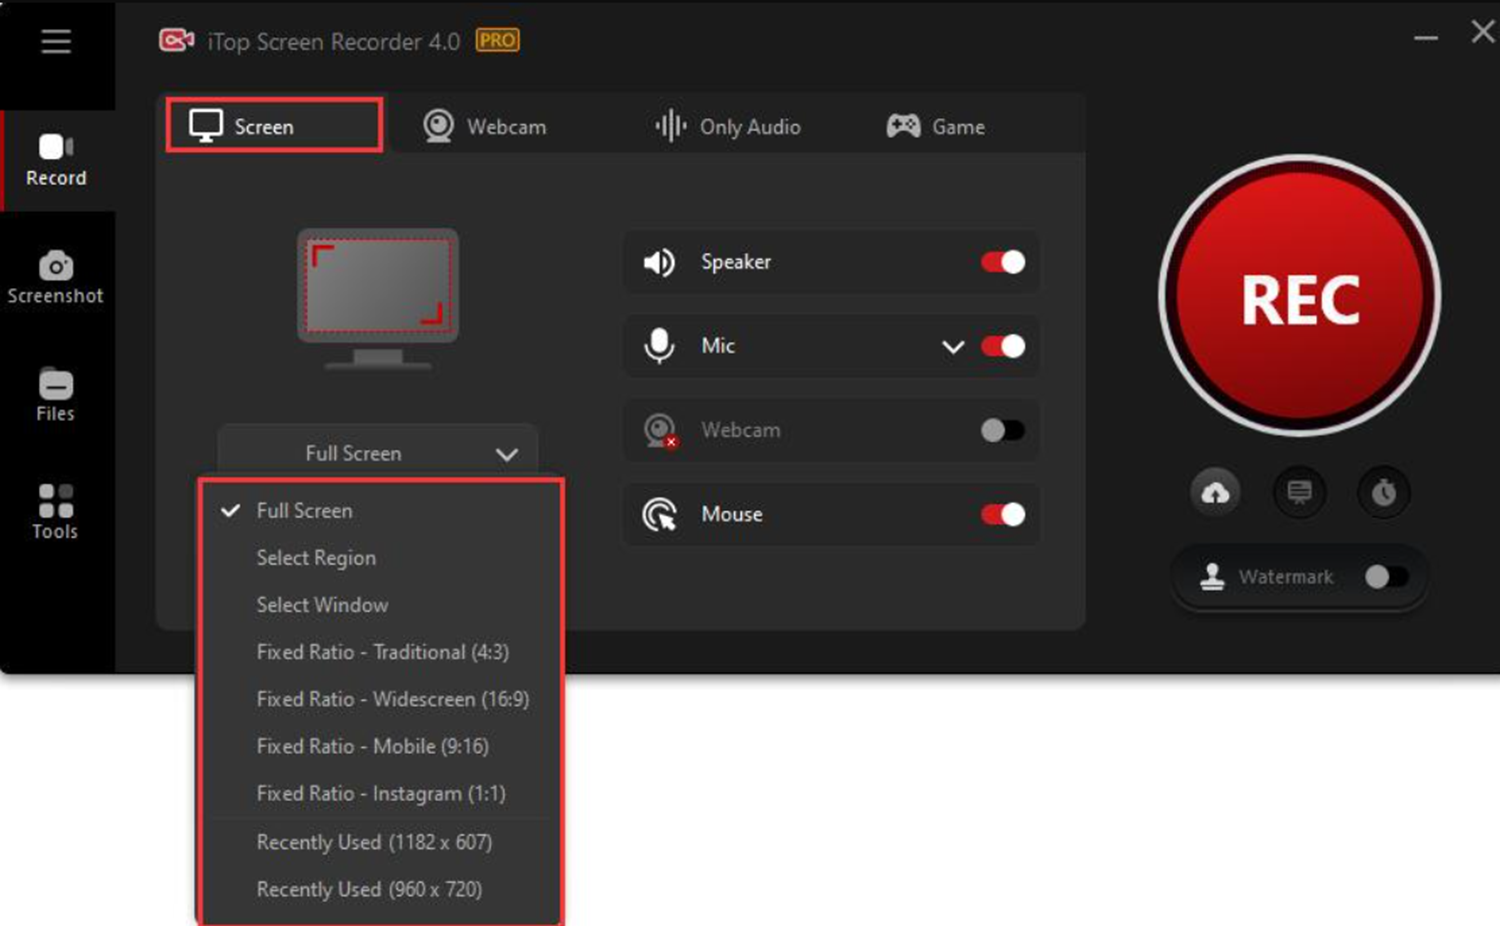
- Full Screen (default): Records everything on your screen.
- Custom Area: Draw a specific box to capture only the area where the Hulu Live program is playing.
- Selected Window: Click on the Hulu Live window to automatically select it for recording.
-
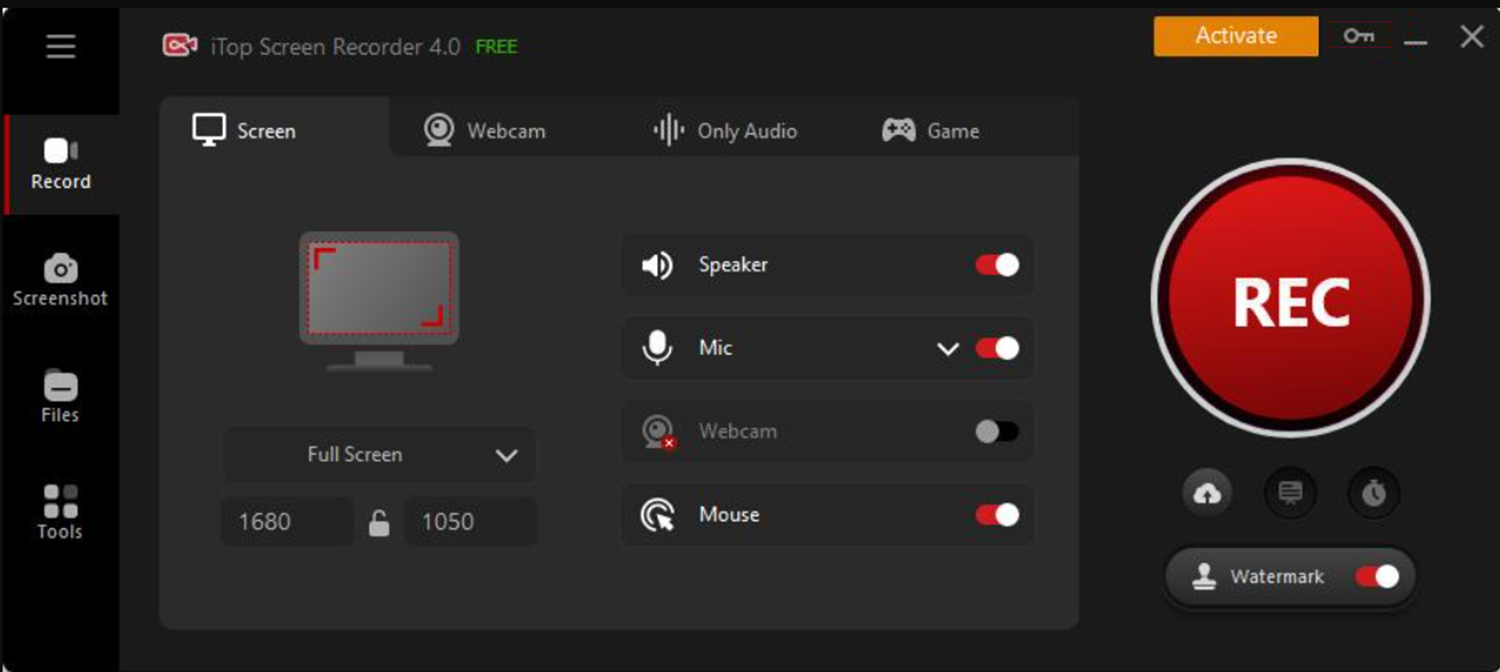
Enable Audio: Since you want to capture the show’s audio, make sure the microphone icon is enabled in the iTop Screen Recorder interface.
-
Play Your Show on Hulu Live: Log in to your Hulu + Live TV account and navigate to the program you want to record.
-
Start Recording: Hit the big red “REC” button in iTop Screen Recorder to begin capturing your show.
-
Stop Recording (When Finished): Once your desired program segment is recorded, press the F9 key on your keyboard (or the stop button in the recorder) to stop recording.
-
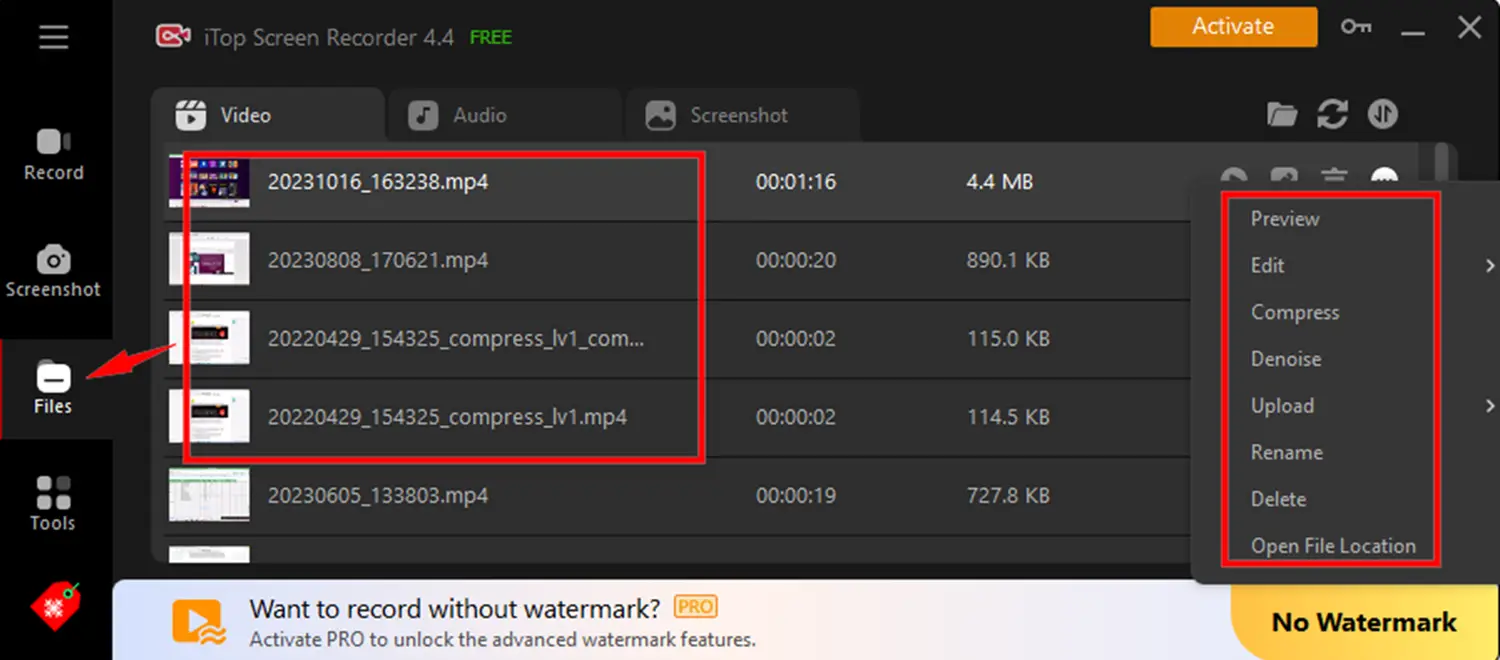
Find Your Recording: Your captured video will be saved in the “My Creation” folder within iTop Screen Recorder. You can then play it back, edit it (using the built-in editor if needed), or share it with others.
That’s how you can record your favorite show from Hulu Live using the free iTop Screen Recorder. Now, you can enjoy it whenever you want, even offline.
Free Video Downloader
Free video downloader is one of the best streaming video recorder software. Downloading videos from popular website like YouTube, Facebook, Vimeo, Dailymotion, etc. using Free video downloader is really easy. The process of downloading videos from different websites is really simple. All you have to do is copy-paste the link of the video that you want to download.
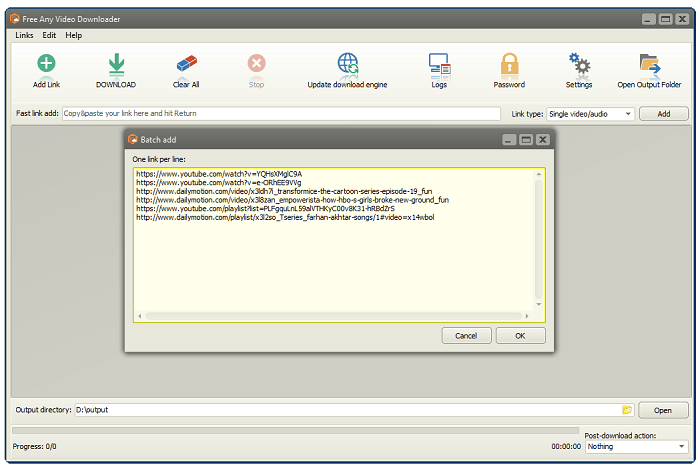
You can download the videos in different formats of your choice as Free video downloader lets you choose from different formats like Mp4, AVI, MKV etc. You can choose to download just the audio by choosing Mp3 format too. This software is only available for Windows users. The quality of the video downloaded using this software is really good.
Visit: Free Video Downloader
See also: 4 Best PC Optimizer Software for Windows
JDownloader 2
JDownloader is a streaming video recorder software. You can use this software on Windows, Mac, and Linux. The process of downloading videos from any website using JDownloader 2 is really easy. You just have to copy paste the link of the video that you want to download.
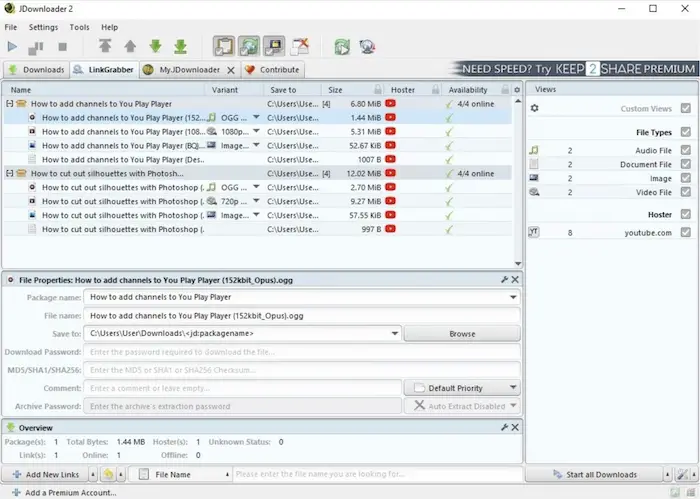
Even if you don’t have a link to the video that you want, you can copy-paste the link of the page and this software will detect all the videos on that page and you can look for the video that you want to download. This feature is very useful for downloading multiple videos from a single page at the same time. The UI of this software is really simple and easy to understand. You can download the video in the format of your choice.
See Also: How To Change Unsupported Video Codec In Android
Visit: JDownloader 2
YouTube dl
YouTube dl is a command line program which can be used for downloading videos from different websites like YouTube and Facebook. If you are comfortable with using command line programs, you can use this program for downloading videos from different websites. For understanding different commands for performing different actions, make sure you read this documentation.
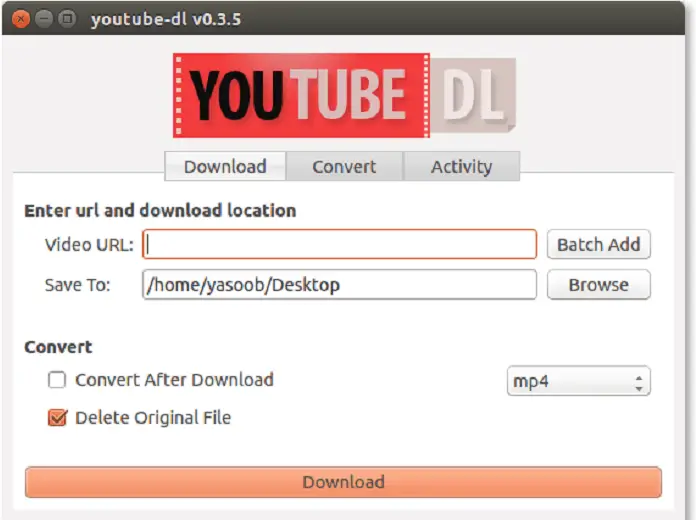
One you read this, you will get an idea of how to download videos from different websites in different formats using YouTube dl. You can use YouTube dl on Mac, Windows, and Linux. This software is complicated to use as compared to the other streaming video downloading software mentioned in the list.
Visit: YouTube dl
See also: 5 Best Mac Cleaner Software to Supercharge Your Mac
Cam Studio
Cam studio is one of the best streaming video recording software. It is a software with a very basic layout. It has a user-friendly interface. Cam Studio does the job of downloading videos from different websites to your computer in the format of your choice very well.
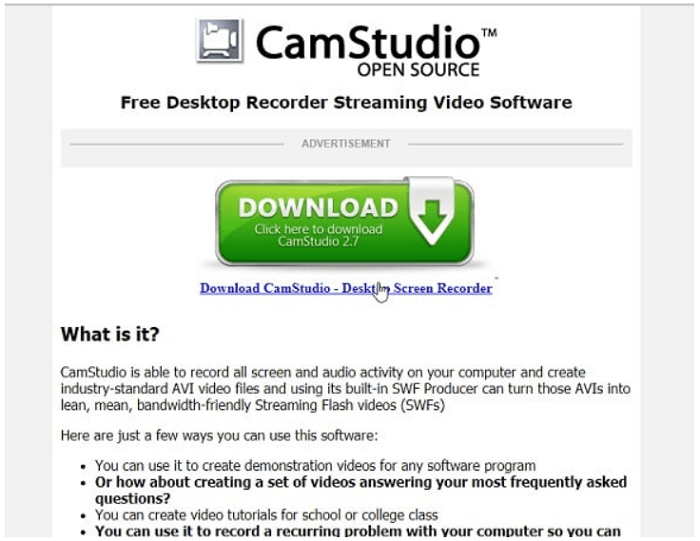
Thousands of people have been using Cam studio for downloading videos from YouTube.
You can choose to download just the audio too if you don’t want to download the video. You can also edit the audio or video that you have downloaded using the inbuilt editing tools in the cam studio.
Visit: Cam Studio
See Also: SportsDevil Not Working On Android | 5 Ways To Fix The ERROR
VideoGrabby
VideoGrabby is a website that does the job of a streaming video software downloader. This is the best way to download videos from websites like YouTube, Facebook, Vimeo, Dailymotion, etc. All you have to do is Copy paste the link of the video that you want to download in the search bar on its homepage and press enter.
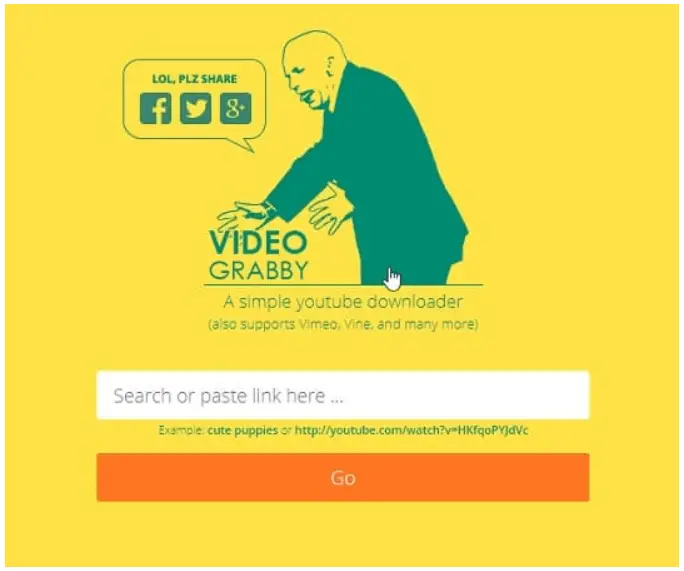
Downloading any video using VideoGrabby is that simple. The layout of the website is really simple. The only negative thing about this website is the fact that this website has a lot of annoying ads. Since the website is free, not many people will mind the ads. The Discord Stream Freezing issue occurs when the screen freezes after a few minutes of streaming. This issue can make it difficult for the streamer. Fix it before proceeding further.
Visit: VideoGrabby
Video Download Helper
Video download helper is an extension that can be added to your browser for downloading videos from websites easily. This extension is supported in Firefox and Chrome. Once you add this extension to your browser, you can download as many videos as you want from any websites.
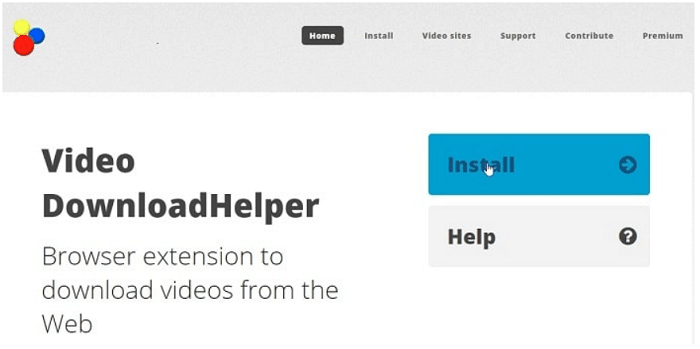
A small icon of Video download helper will appear on the right-top of your browser. All you have to is click this icon to download a video. This is one of the easiest ways of downloading videos online as you do not have to download and install any software on your PC which may take up a whole lot of space.
Visit: Video Download Helper
See Also: 5 Best Open Source Video Players for Linux | 2024
Best Video Converter Software Features
Here are the best video converter software features
Different features of various best video converter software
Here are the different features of various best video converter software
| Software | Company | Date Released | Supported Platforms | Input Formats | Output Formats | Batch Conversion | GPU Acceleration | Price |
|---|---|---|---|---|---|---|---|---|
| FlexClip | PearlMountain Limited | 2020 | Windows, Mac, Online | MP4, AVI, MOV, WMV, MPEG, FLV, MKV, etc. | MP4, AVI, WMV, MOV, GIF, etc. | Yes | Yes | Free/$5.99-$19.99 per month |
| Handbrake | The HandBrake Team | 2003 | Windows, Mac, Linux | Any format readable by libavformat | MP4, MKV, WebM, etc. | Yes | No | Free |
| Freemake | Ellora Assets Corporation | 2010 | Windows | MP4, AVI, WMV, MKV, DVD, etc. | MP4, AVI, WMV, MKV, DVD, etc. | Yes | No | Free |
| MediaCoder | Stanley Huang | 2005 | Windows | MP4, AVI, WMV, FLV, MOV, etc. | MP4, AVI, WMV, FLV, MOV, etc. | Yes | Yes | Free/$8-$106 per year |
| Koyote Free Video Converter | Koyote Soft | 2009 | Windows | AVI, MP4, FLV, 3GP, MPEG, etc. | AVI, MP4, WMV, MKV, 3GP, etc. | Yes | No | Free |
| WinX DVD | Digiarty Software, Inc. | 2009 | Windows | DVD, ISO image, DVD folder | MP4, AVI, WMV, MOV, FLV, etc. | Yes | Yes | Free/$29.95 per year |
| Wondershare Video Converter | Wondershare Technology Co., Ltd. | 2003 | Windows, Mac | MP4, MOV, AVI, WMV, MKV, etc. | MP4, MOV, AVI, WMV, MKV, etc. | Yes | Yes | Free/$39.95 per year |
| Any Video Converter | Anvsoft Inc. | 2006 | Windows, Mac | MP4, AVI, WMV, MKV, MOV, etc. | MP4, AVI, WMV, FLV, etc. | Yes | Yes | Free/$49.95 per year |
| Convertilla | Convertilla | 2013 | Windows, Mac | MP4, AVI, MOV, WMV, FLV, MKV, etc. | MP4, AVI, MOV, WMV, FLV, MKV, etc. | Yes | No | Free |
FAQs
What is the top video converter software for Windows?
Depending on a person's preferences and requirements, many Windows video converter programmes are the best. However, some popular options include iTop Screen Recorder, Handbrake, Freemake, MediaCoder, and Any Video Converter.
Is there any free video converter software for Windows?
Yes, several free video converter software options are available for Windows, including iTop Screen Recorder, Handbrake, Freemake, and Koyote Free Video Converter. These tools offer essential features for converting video files at no cost.
Which video converter is the most effective for converting high-quality video files?
Using paid video converter software with advanced features and settings is best for converting high-quality video files. The best options include iTop Sreen Recorder, Handbrake, Freemake, MediaCoder, and Any Video Converter
Are there any Windows HD video converters available for free?
Yes, there are several free HD video converters for Windows which includes Handbrake, Freemake, and Any Video Converter. These programmes are capable of converting video files to HD resolutions like 720p and 1080p.
What qualities should I consider when picking the top Windows video converter software?
When choosing the best video converter software for Windows, consider factors such as supported input and output formats, conversion speed, batch conversion capabilities, GPU acceleration, and pricing. It's also important to read user reviews and test the software with your specific video files to ensure compatibility and quality.
What is the best video converter software for Windows?
The best converter software for Windows depends on individual preferences and needs. However, some highly recommended options include iTop Screen Recorder, Wondershare Video Converter, DivX Converter, and Movavi Video Converter.
Conclusion
Here, we discussed some of the amazing video-downloading software that can add ease to your video-downloading experience.
Thank you for reading!
Dedicated group of Computer Engineers making tech updates accessible to all. Our dream is to simplify and share tech news with everyone.